This article is about two things: how to safely and efficiently pack items sold on eBay (or elsewhere), and how to pack things with some consideration of what the recipient will have to do to get the item out of the packaging.
I got motivated to write this because I’m good at packing things (I’ve sold many thousands of things on eBay and Amazon, including lots of big and heavy things like printers, and have only had one item suffer minor shipping damage), and because I’m sick of receiving things I’ve ordered on eBay wrapped in way too much packaging and tape making them nearly impossible to remove from the package.
I will try to help you answer two questions:
- Did I pack my item so it will arrive safely?
- Did I make it as easy as possible for the recipient to get the item out of the package?
Both are important!
There are several links to Amazon in this article. I don’t get referral fees for them.
Do You Need a Box At All?
You may have noticed that Amazon uses fewer and fewer boxes for their shipments. They are realizing that poly bags and poly bubble bags provide enough protection for many items, are cheaper, and are much easier to pack and for the recipient to open.
I sell a lot of small stuff, and use #0 poly bubble bags (10″ x 7″) for most of my shipments. They are well under 20¢ in quantity (buy them on eBay), and I can pack, label, and seal them in seconds. For bigger things I use #2, #4, and #6 bubble bags.
For larger items, things already in (small) boxes, and clothing, poly bags (non-bubble) are a good alternative. They are quite strong and are also easy to pack, and they take up little space so you can stock a range of sizes in a small space. I use them for things that are too big for the bubble bags I stock. They’re also cheap, at least in smaller sizes.
For shipping things that shouldn’t get bent, like printed material or fragile things like memory sticks, I use corrugated pads (flat sheets of cardboard) as reinforcement. You can cut them from boxes you don’t need, but it’s easier and better to buy them pre-cut. Again eBay is a good source. Look for “32 ECT” to get heavier-duty ones, and avoid anything labeled “EcoSwift” as they are very flimsy and lightweight. Cut pads as required to fit the bubble bag you’re using, put the item being shipped in a ziplock bag, and tape it to the cardboard, or use rubber bands to hold it in place. It is often a good idea to use two pads taped together with the item sandwiched between them.
I buy 8.5″ x 11″ pads, and cut most of them in half. If you don’t have a paper cutter to do this, buy one. They are an essential tool. Half of an 8.5″ x 11″ pad (5.5″ x 8.5″) fits perfectly in a #0 bubble bag. At least 75% of what I sell is packed this way. It’s very good protection, and very easy to open.
Using Boxes
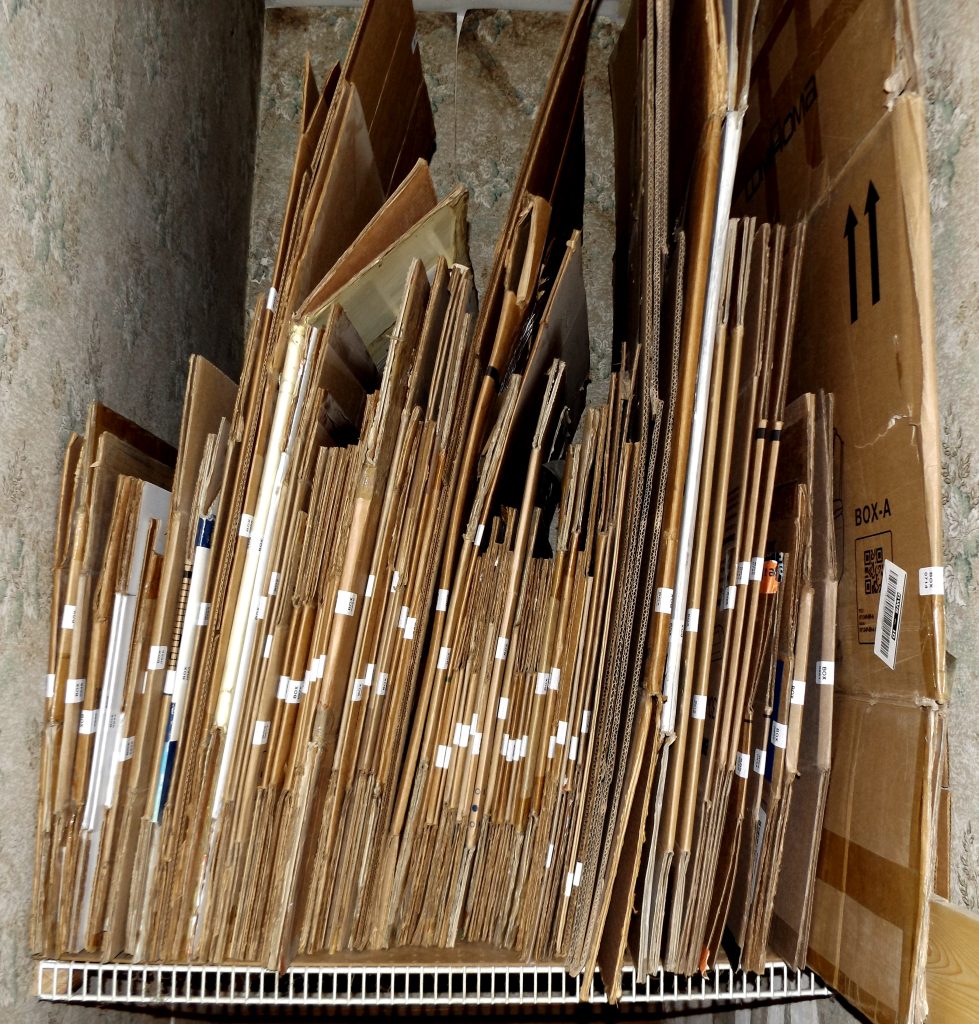
You’ll need to use corrugated cartons (boxes) for big, heavy things, and for things that might punch through a bubble bag. I save old boxes, have hundreds of them, and have a complicated system to inventory them so I can quickly choose the right size box for a shipment and then find it. I will write up my system some day and post it here, even though it will only be of interest to the truly obsessive.
USPS boxes and padded mailers are great, and are free. Don’t misuse them! I worry that so many people are misusing such packaging supplies that the USPS will have to start charging for them, or discontinue them entirely. When I get a package from someone where there is egregious misuse of free USPS supplies (such as using copious padded mailers instead of bubble wrap for padding), I report them to the USPS, and you should too. I got one big box a while back that was pieced together from a number of USPS boxes, had literally dozens of padded mailers inside, and to add insult to injury, was shipped by FedEx Ground!
If you sell the same items over and over, consider buying boxes the right size for shipping them. Again, eBay is a good source. For smaller things, look at boxes called “mailers” which are ones that fold up from a flat sheet of cardboard and are often white. They’re nicer, and sometimes cheaper, than the typical boxes with flaps.
If you ship heavy things like printers, buy some 1″ white unfaced Styrofoam sheets. You can get them at lumber yards, and a 2′ x 8′ sheet should cost about $5. Neither Lowes nor Home Depot has them. There are other types of insulation that are much more expensive, so be careful, and shop around if necessary. I buy them 10 at a time.
Cut the 1″ styrofoam with a serrated knife, or if you have one, a table saw. Cut it 1/4″ or 1/2″ shorter than you think you’ll need. Use one or two layers on all sides of the box. Start by putting one or two layers on the bottom, then do the sides, then the top. If the item you’re shipping is not square-sided, fill the extra space with packing material like air pillows or packing peanuts. If you do it right you’ll end up with a nice, solid, strong package.
When taping boxes, use the “H” pattern. One long strip down the middle of the flaps and extending halfway or more down the sides of the box, then short strips along the sides of the flaps. Make the short strips short enough that there is a little space at the edges to get a knife in. Tape both the top and bottom of the box the same way.
If you’re packing something heavy, or just need extra strength, wrap strapping tape around the package in several places.
Supplies You’ll Need
There are a few things that make packing stuff a lot easier. First, get a good tape dispenser and good-quality packing tape. Next, buy a strapping-tape dispenser and a few rolls of strapping tape. Also very handy is a stapler for corrugated boxes; I use an Arrow P-35 stapler with 3/8″ staples.
Good-quality packing tape is hard to find. The cheap stuff is mostly no good, and the brand-name stuff is way too expensive. I recently bought some Amazon Basics tape and found it quite good and reasonably-priced. Go to https://www.amazon.com/gp/product/B08D4K9DLM/.
There are several different kinds of packing tape dispensers. The kind I like are the simplest ones; if it has a handle, it’s too complicated. Go to https://amazon.com/dp/B0000AQOJB/.
I’ve had good luck with cheap strapping tape. I get this stuff for about $6/roll: https://amazon.com/dp/B01LY3BPZZ/. And for strapping-tape dispensers try https://amazon.com/dp/B000QDRRNY/ which is a nice steel one for about $13.
There are several models of the T-35 stapler. They don’t make the one I use any more but the best comparable one is https://amazon.com/dp/B000KNHVMM/. It has a spear point which makes it good for stapling closed box flaps. While not the preferred way to close boxes, there are times when it’s handy.
Buy or Recycle?
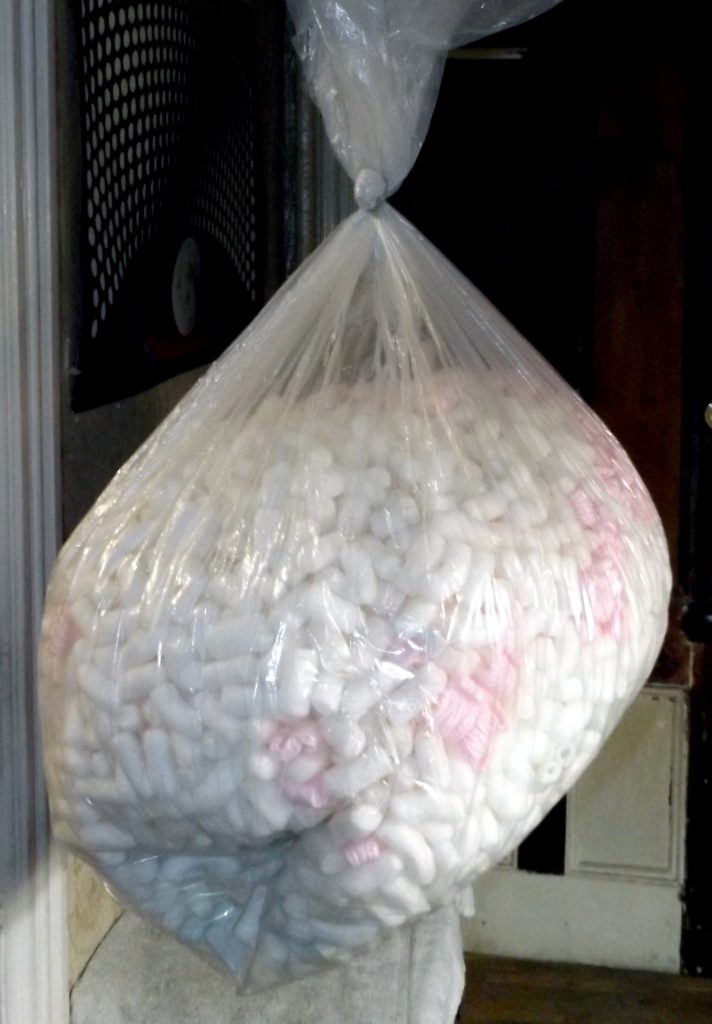
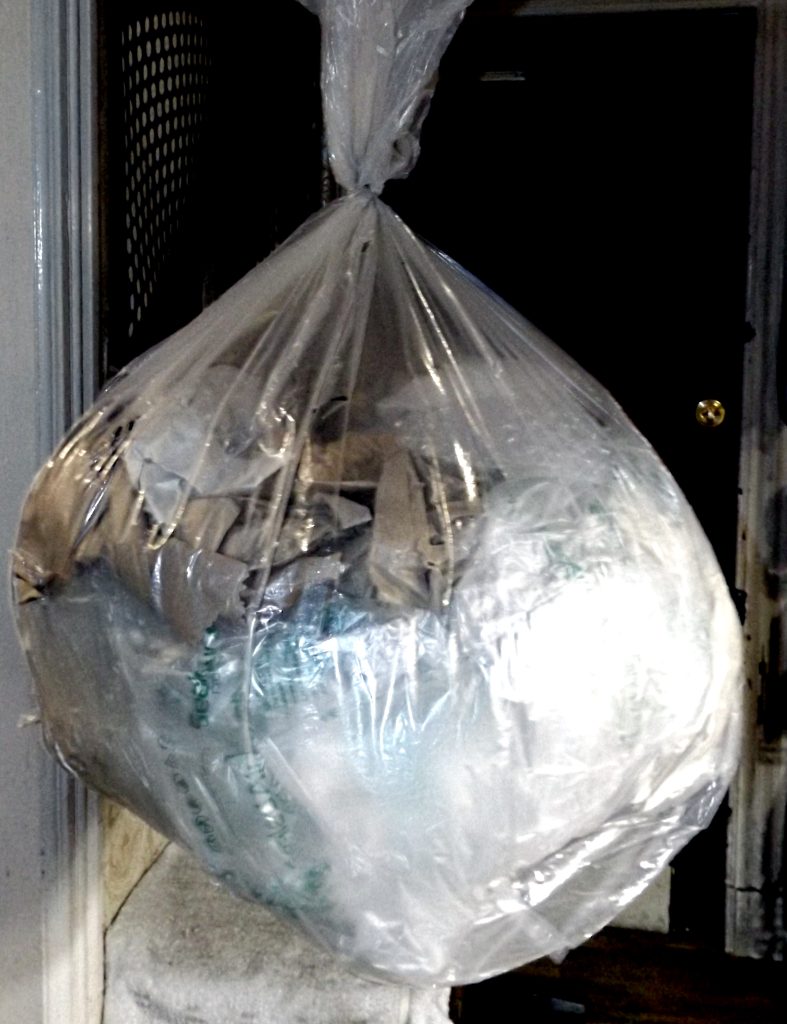
Some things, like tape, sheets of styrofoam, or bubble bags, you’ll have to buy. It also makes sense to buy boxes if you need lots of a specific size. Most of the rest of what you’ll need for packing things will come as the packaging you’ll get from others, if you make a point to save it. If you sell stuff, it stands to reason that you buy stuff, plus most of us get lots of what we need from places like Amazon, and it all comes in packages containing lots of packing material.
I buy large plastic trash bags and use them to store packing material. I actually end up saving more packing material than I need. When I get too many bags I’ll take a few to my local pack-and-ship shop, which they appreciate, and reuse.
Making Things Easy for the Recipient
Note the word “considerately” in the title of this post. This refers to making things easy for the recipient of the package. Too many things I buy on eBay arrive encased in armor and take a lot of time-consuming work to open. Sometimes it’s even hard to get the item out of the packaging without damaging it. You don’t need to mummify the internal packing material (or the outer box) with packing tape in order for it to arrive safely. Use just enough tape to hold things together securely.
If you wrap an item in bubble wrap, often you don’t need to tape it in place at all, or it can be secured with a single small tab of tape. If it’s pretty snug in the package, the item will stay secure in the bubble wrap without any tape. A very good alternative is to use rubber bands.
Tape the box flaps using the “H” pattern described above. You don’t need to overwrap the entire package in tape.
If you use Priority Mail packaging that has self-seal strips, the strips are plenty strong. You don’t need additional tape. The only exceptions are when the box is old and the self-stick glue has dried out, if you’re jamming something big in the box (yes we all do it and it’s legal if the flaps will close somehow) and the flaps don’t quite close securely, or if you’re shipping something extremely heavy.
For most all uses of packing tape other than closing boxes, such as taping things closed on printers or securing bubble wrap around an item, be sure to fold back a corner of the tape to give the purchaser something to grab. It’s really difficult to remove the tape otherwise, and many people don’t have fingernails suitable for the task.
If you use styrofoam sheets or packing peanuts (or anything else that’s messy), be sure to put the item you’re shipping in a plastic bag first. Don’t make your recipient have to spend a lot of time picking bits of styrofoam off of or out of their item.
Sharp, Pointy, or Heavy Things
It is necessary to use extra protection with things that could punch through their container. You need to get creative. Stapled-together cardboard sheets, or wood of various sizes, can be useful in crafting a package that will ship a heavy item safely. Crumpled brown-paper sheets also provide a surprising amount of security.
For example I sell steel rock chisels that are an inch in diameter, 18 inches long, with a sharp point on one end. They are designed to punch through concrete, so a box doesn’t have a chance. I put them between two sheets of cardboard and staple the cardboard tightly around the item. I do this twice for extra protection. Then I put it in a strong box with lots of crumpled paper to hold it in place.
Another example of an item which requires extra protection is a heavy electric motor. It will have shafts sticking out of one or both ends. I use two methods for packing these. I cut square pieces of styrofoam the size of the end(s) of the box, then make holes in them for the shaft. It also helps to put pieces of thin plywood or masonite to reinforce the sides of the box where the shafts might punch through.
If you use wood when packing something, remember that it needs to be inside a box to be shipped by standard carriers. You rarely need a full-fledged crate. For example, a wood frame around something with fragile edges provides lots of protection, or a sheet of thin wood covering one side of the inside of a box may be all you need to keep something sharp or heavy from punching through.
Styrofoam sheets, as noted earlier, are very good for packing large or heavy things. If one or two layers are places on all sides of a box, they will stiffen it up to make a surprisingly solid package. For square-sided things like computers, that’s pretty much all you need. For odd-shaped items, it makes a solid container in which you can put your item surrounded by air pillows. If you use just the right number of them, your item will be secure, and the box will close firmly.
Liquids
Shipping liquids are a special case. Always include the item in a 4-mil ziplock poly bag that is securely sealed. If you’re shipping paint cans, get some of those spring-steel lid retainer clips and use 3 or 4 on each lid before putting the can in your ziplock bag. For screw-top bottles or cans, be sure the top is screwed on tightly. Some shippers use tape to secure the top; I don’t think that is necessary. But don’t use tape to seal a cap that is likely to leak; use a better bottle.
I don’t ship bottles or cans in bubble bags unless they are very small, like 2 oz. Bigger bottles or cans should go in a box. Mailers are very good for this. I ship a lot of 16-oz PET bottles, and have bought mailers sized for one or two bottles. Three or more go in a Regional Rate box.
Did I Pack My Item Well Enough?
For items in bubble bags, there isn’t a lot to worry about. The corners of the bubble bag will protect the corners of what you are shipping, even for things like books, provided that you didn’t squeeze the item into too small of a bag. The only things to worry about are things that might be damaged by bending. Postal workers may try to fold the package to fit it in a mailbox, but they won’t if it is stiffened by cardboard.
For items in boxes, ask yourself if it’s packed well enough to be dropped from waist high, or pushed off the edge of a desk. If the answer is no, you need to pack it better — put your box in a bigger box and add more packing material. If the answer is yes, then actually drop it from waist high. If you’re scared to, your answer should have been “no”.
Beware of caution labels on boxes, like “Fragile” or “This End Up”. If you think you need to use a label like that, you probably didn’t pack your item well enough. Some people say “Fragile” means “Give it an extra kick” to postal workers, and it’s probably true for some of them. The only extra labels I use are contents warning labels when required by law, and “Do Not Bend”, “Top Load Only” (which means do not pile heavy things on top), and “Heavy” for items that are heavier than one would expect. You can get “Heavy” stickers from the USPS for free — I cut off the “35 lbs and over” part if I’m using it on a smaller but still heavy box that is less than 35 lbs.
Shipping Methods
This section is a quick rundown of shipping services and vendors. I have a more complete article on this topic coming, and I’ll put a link to it here when it’s done.
I’ve found that FedEx is generally easier on shipments than UPS. But UPS is frequently cheaper, sometimes by a lot. The two services (and USPS) have different ways of calculating prices, some going more by weight, and others more by size. Be sure to compare all methods.
USPS services to be aware of are the various Flat Rate packages and rates. Regional Rate boxes are great, and I’ll use them even when the standard Priority Mail rate is a little less, because I get a nice free box. Sometimes the various Flat Rate boxes are handy and can save money. One little-known rate class is Priority Mail Cubic, which charges for smaller packages and bags by size rather than weight. It’s not widely available (eBay and Stamps.com don’t offer it, nor does USPS Click-and-Ship). Pirate Ship does offer it, along with discounted UPS rates, and a calculator that helps you choose the cheapest shipping method.
With the introduction of Ground Advantage rates, Priority Mail is no longer the primary USPS service. Ground Advantage also has Cubic rates, which are the cheapest in many, if not most, cases. Be sure your shipping provider offers them; you can’t get them at USPS retail counters. Be very aware of shipping times with Ground Advantage — places like Hawaii, Alaska, and Puerto Rico can be shipped to with Ground Advantage, but it can take weeks or sometimes months. Priority Mail is not much more and takes two or three days typically.
I use Shipstation for most of my eBay sales ($9.95/month which includes a free Stamps.com account — a great deal), eBay shipping for FedEx, Stamps.com for non-eBay shipping, and sometimes Pirate Ship. Note that all these providers automatically use Cubic rates when they are cheaper.
Some Examples
Flat Spring Steel:
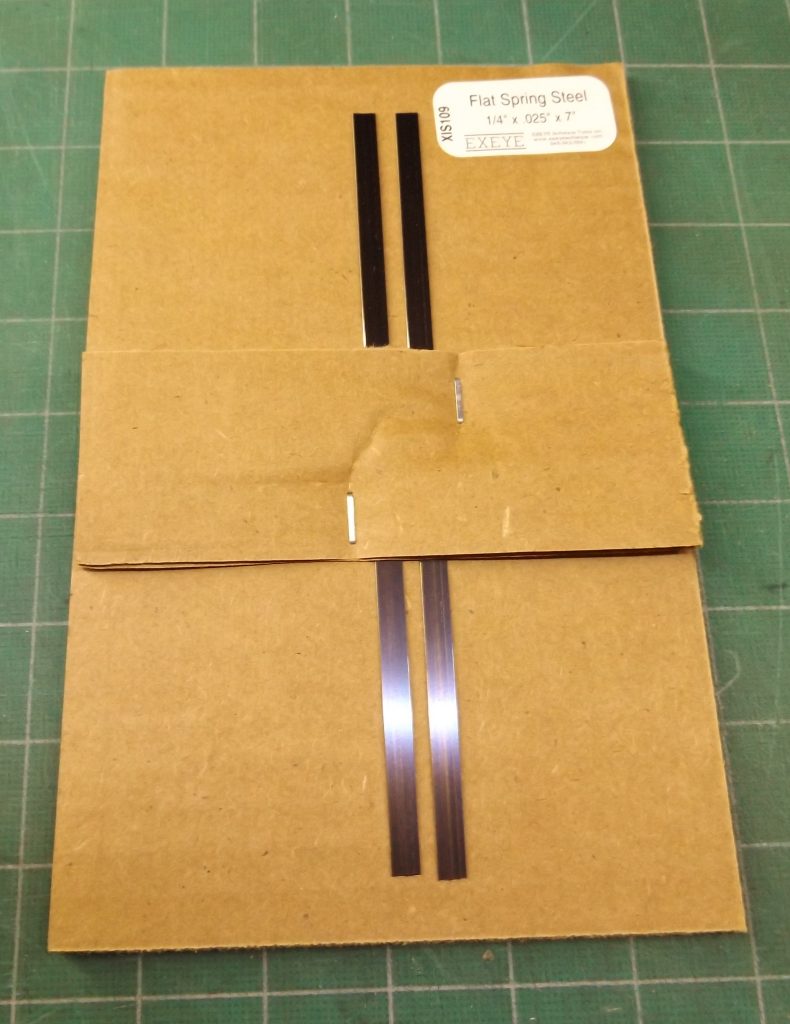
These are 7″ pieces of slightly-curved spring steel. Obviously they are hard to pack so that they won’t punch through the package. My solution is to put them on a 5.5″ x 8.5″ cardboard pad with the curve down at the ends, and staple a small piece of cardboard onto the pad to hold them in place. The resulting package is simple to prepare, safe, easy to ship, and convenient for the recipient. I’ve gotten many positive feedback comments about this packaging.
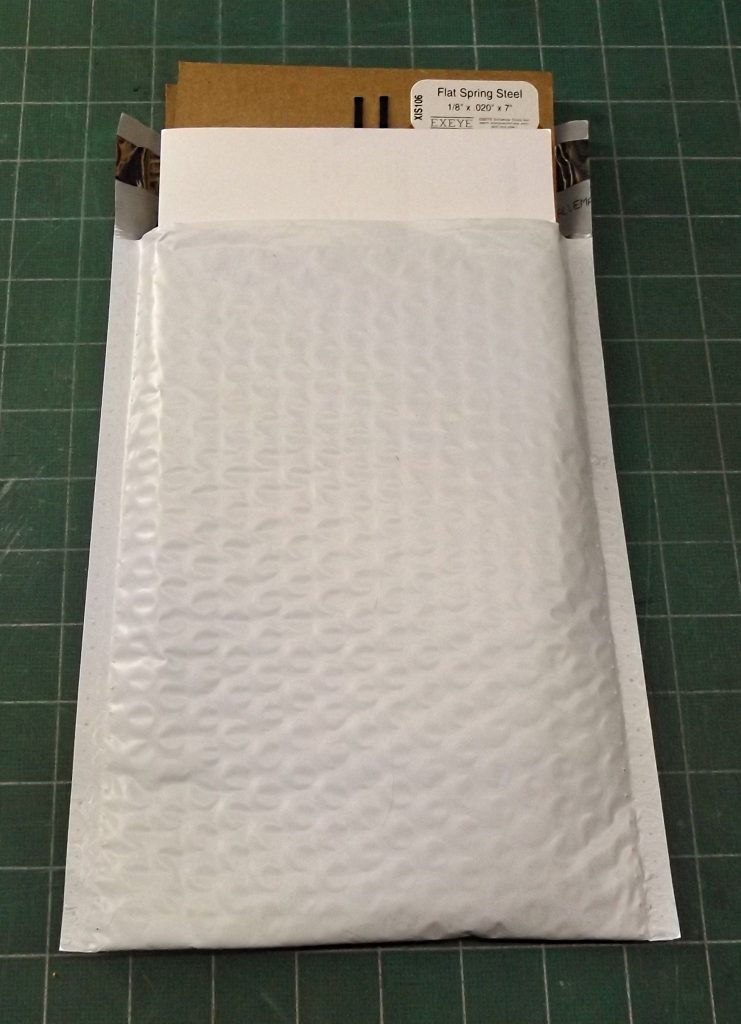
This is how the resulting package fits in a #0 bubble bag. The bag will hold one or two items. For three or more I use a #2 bubble bag and use rubber bands to hold them together.
Easy to pack, easy to open, and secure.
3.5″ Floppy Drives and Hard Drives
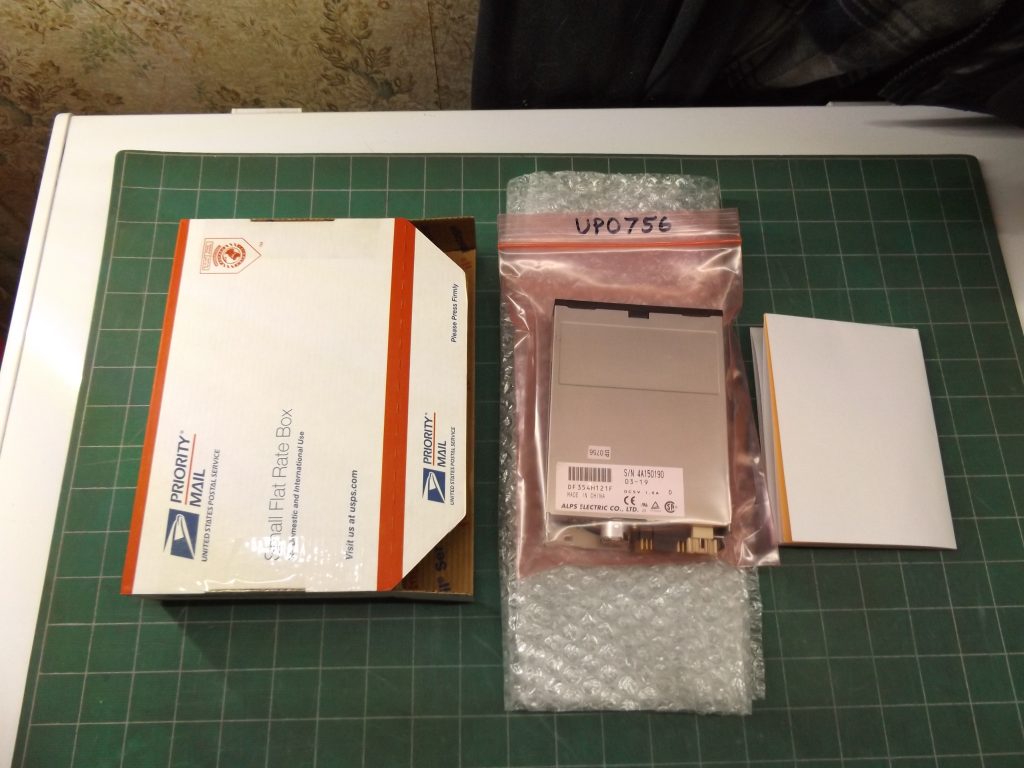
I like to use Small Flat Rate Priority Mail boxes for shipping drives. Most drives are over a pound so First Class is out, but I use them even for drives under a pound because they are easy and safe. You could sometimes save on postage by using a bubble bag or a non-USPS box with Cubic or standard Priority Mail, but you wouldn’t save much, and for me it’s not worth the bother. Also if I shipped many drives I would get fold-up mailers the right size.
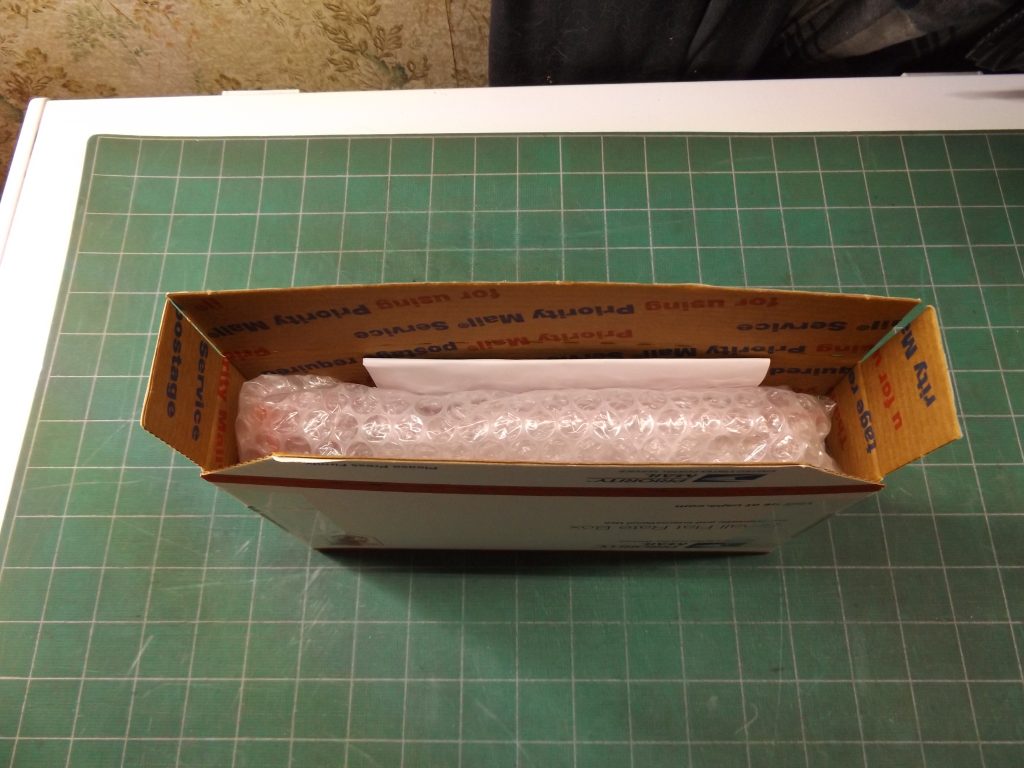
I wrap the drive in bubble wrap (no tape) and stuff it in the box along with the packing slip. Note that I do use small strips of tape on the sides of the box; probably not necessary but they make a more secure package, and don’t need to be cut or removed to open it.
Everything stuffed in the box. All that is left to do is to peel the tape off the adhesive strip, close the box by pressing the adhesive strip well, and apply the label.
The drives fit somewhat loosely in the box, which is fine. Things like this don’t have to be jam-packed full of packing material. It might slide around a bit, but it’s well padded so a little movement in the box doesn’t matter.
With the advent of Ground Advantage, Priority Mail is no longer the cheapest way to ship drives, though I still sometimes use it. Usually I wrap drives in two layers of bubble wrap and put them in a bubble bag. If I’m worried about safety, I put them in a suitable-sized box.
