Introduction
I have an old house, built around 1888. It still has a lot of the original stuff and I try to preserve what I can. One thing I’ve been having trouble with is the door hardware, which is typically worn out or not working. There are expensive reproductions out there, but I’m cheap, and I like to keep what I can of the original stuff. I also like fixing things.
There are two problems I’ve found with old locksets: the cam is worn in the covers so the doorknob rattles, and the springs are usually broken or missing. I couldn’t find replacements for the cams, so I epoxied brass bushings on the wear surface and ground them down to fit. I also had trouble finding short lengths of suitable flat spring steel to replace broken springs, but decided to buy it in bulk and sell short lengths on eBay.
The lockset described in this post is from an exterior door so it’s bigger than the common ones on interior doors, but the repair technique should work for any similar lockset. Also it’s a surface mount lockset; presumably mortised-in ones have the same problems and these techniques will work.
Getting Started
Take the lockset off the door and take it apart. Clean and de-rust the parts. Soaking them in vinegar overnight will remove the rust. Remove all paint with paint remover or heat. Wire brush everything and paint the exterior of the lockset. I like satin black spray paint for this.
Now it’s time to figure out what you’ve got and what needs to be fixed. If parts are missing I can’t help; maybe you can find something on eBay. But probably everything will be there except the springs, and any springs that are still present will be brittle with age and may even break when you remove them.
Replacing Springs
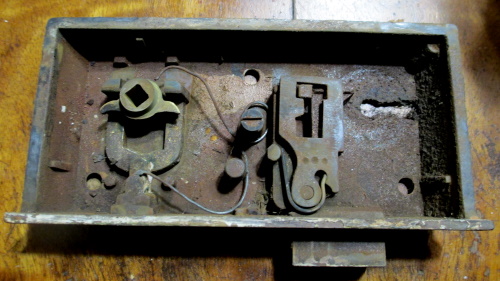
Notice the two springs in the first picture. On the left side is some light-weight spring wire somebody added to try to get the latch part to work. It barely did anything. On the right is an original flat spring for the lock bolt part. It broke from negligible force when I removed it.

I found flat spring steel in bulk and am selling short lengths of it on eBay in various widths and thicknesses. The flat spring steel bends easily and can be cut with an angle grinder or compound diagonal cutters which you can find on Amazon for around $15.
Don’t worry about matching the width exactly — just get reasonably close and you’ll be fine. Also the new spring steel is much higher quality and much stronger than the old stuff so you are replacing, so you’ll be using thinner springs to get the same effect. I suggest using 0.028″ or 0.025″ thickness for door latches, depending on the width.
I’m selling short pieces of the spring steel on eBay cheaply; it’s enough to do several locks. A link to my eBay listing can be found at the end of this article.
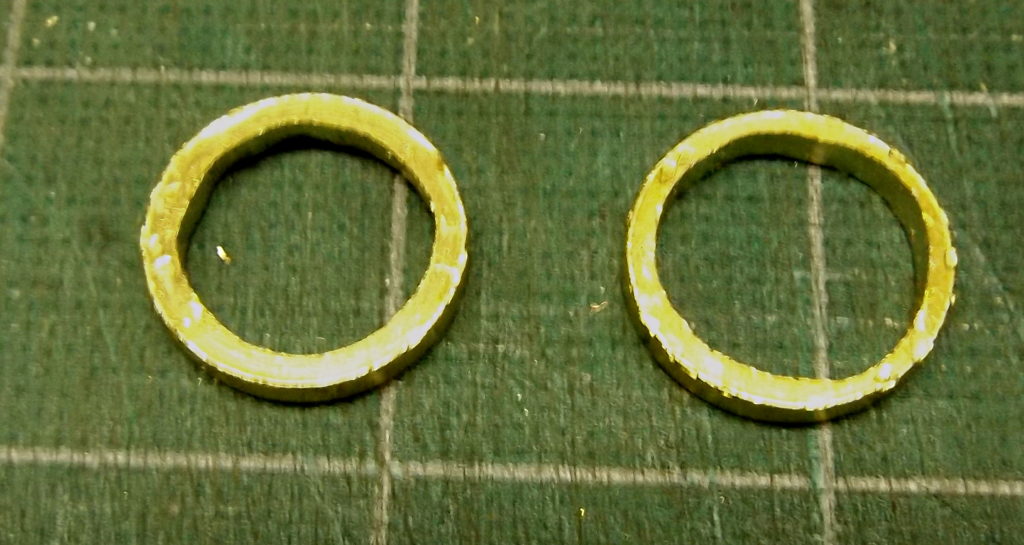
Cam Bushings
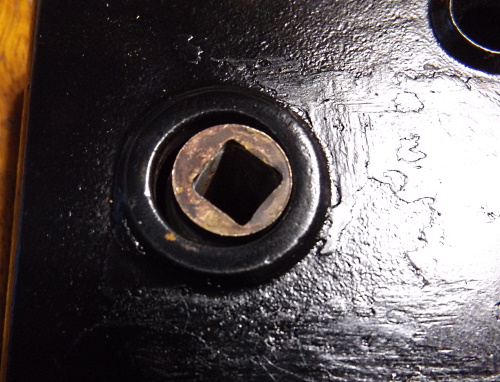
Dealing with worn cams turned out to be a thornier problem. My cam was worn out on the bearing surfaces in the lockset covers, which made the doorknob rattle annoyingly. The solution I came up with was to fit brass bushings over the worn ends of the cam, epoxy them in place, and grind them down so they just fit in the holes in the lockset covers. It’s a little crude but it works, doesn’t show, and will probably last a few more decades.
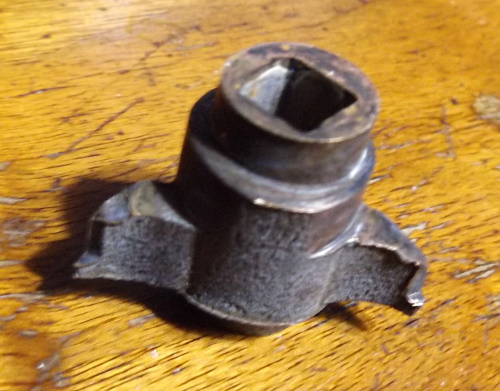
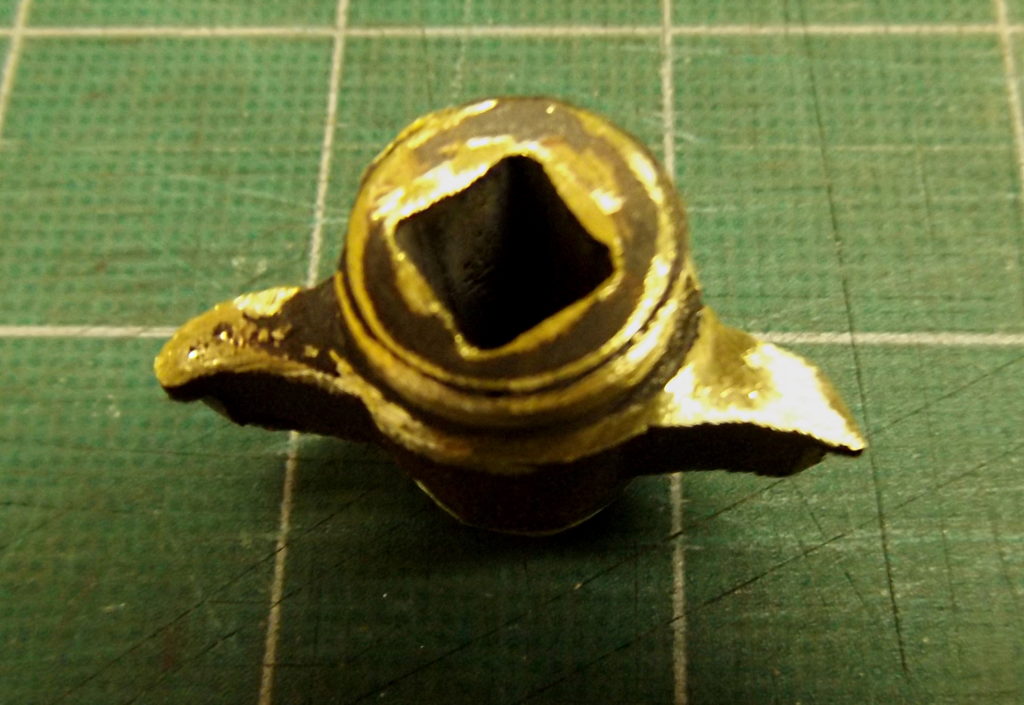
You may find that the “wings” that do the camming are worn or broken. This particular cam was pretty badly worn but it still worked. If your cam is unusable you’re probably out of luck. If you know a source for cams or have figured out a way to repair them, please let me know.
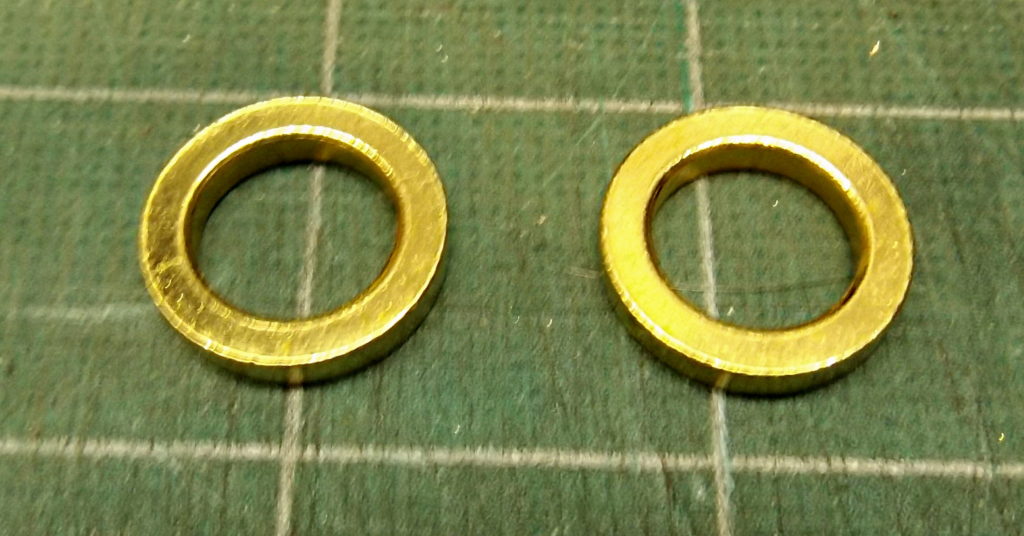
I found brass bushings with an ID smaller than the work cam, an OD larger than the holes in the covers, and sufficiently thick. Again, I’m selling the bushings on eBay at a reasonable price, and a link to the listing can be found below..
I found that a round file works well to open up the ID, but you might find a Dremel tool with a suitable attachment (like a sanding drum or a large-diameter round rasp) may work well too. Keep filing until the bushing fits over the cam. It doesn’t have to be perfect. In my case it only took a couple of minutes.
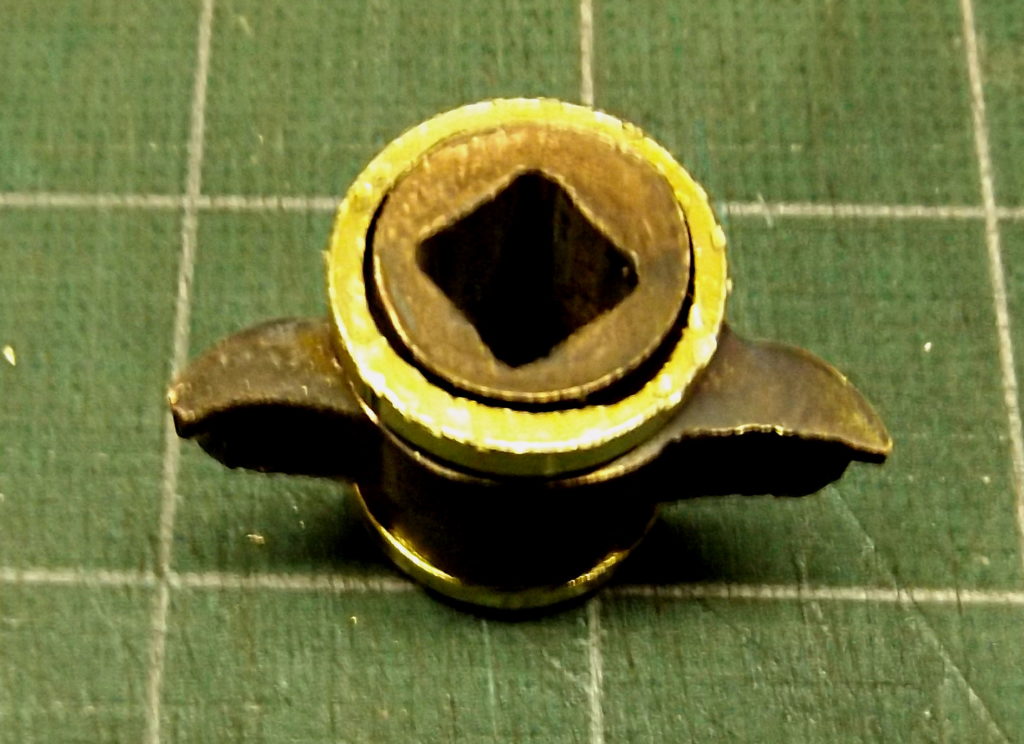
Repeat for the other end of the cam. The bushings will be different sizes so don’t mix them up. Once you have both bushings fitted, glue them in place with good epoxy.
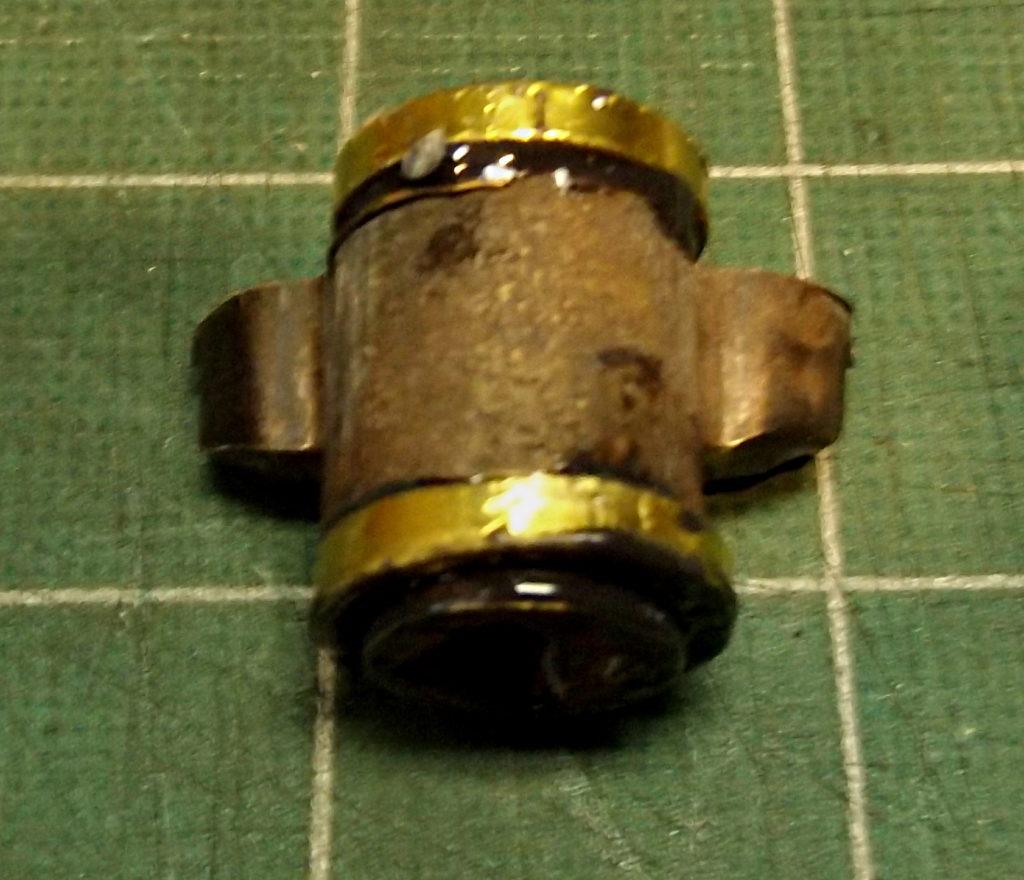
Once the epoxy has cured, start fitting the cam bushings into the covers. I found that a Dremel tool makes short work of this. You can grind down the bushing, or open up the hole in the cover (or both). If your cover has sufficient “meat”, you might want to just drill out the holes in the cover to match the OD of the bushings, which starts out as a fractional size. Fitting the bushings into the covers takes a bit more time, but you should be able to get it done in fifteen minutes or so.
Finishing Up

Everything should fit together nicely at this point. Put a little grease on the wear surfaces, put it together, and screw the cover on. You’ll have a lockset that works like new.
Replacing the Spindles
When installing the doorknobs, you might want to replace the spindles with threaded ones (you’ll need new doorknobs too). Threaded spindles allow for finer adjustment than the old-style threaded holes in the spindle. This in turn lets you eliminate some more slop in the doorknob assembly.
Links to My eBay Listings