There is very little information on this electronic typewriter on the web. I’m selling one on eBay and wanted to check the battery (used for the word processing memory and probably for retaining settings). To do so I had to take the thing apart. Here is what I learned.
Opening up the Typewriter
It’s kind of hard to figure out how to get into the typewriter. The case splits in half horizontally and the top part comes off. Once the top part is removed the clear plastic cover is easily removed.
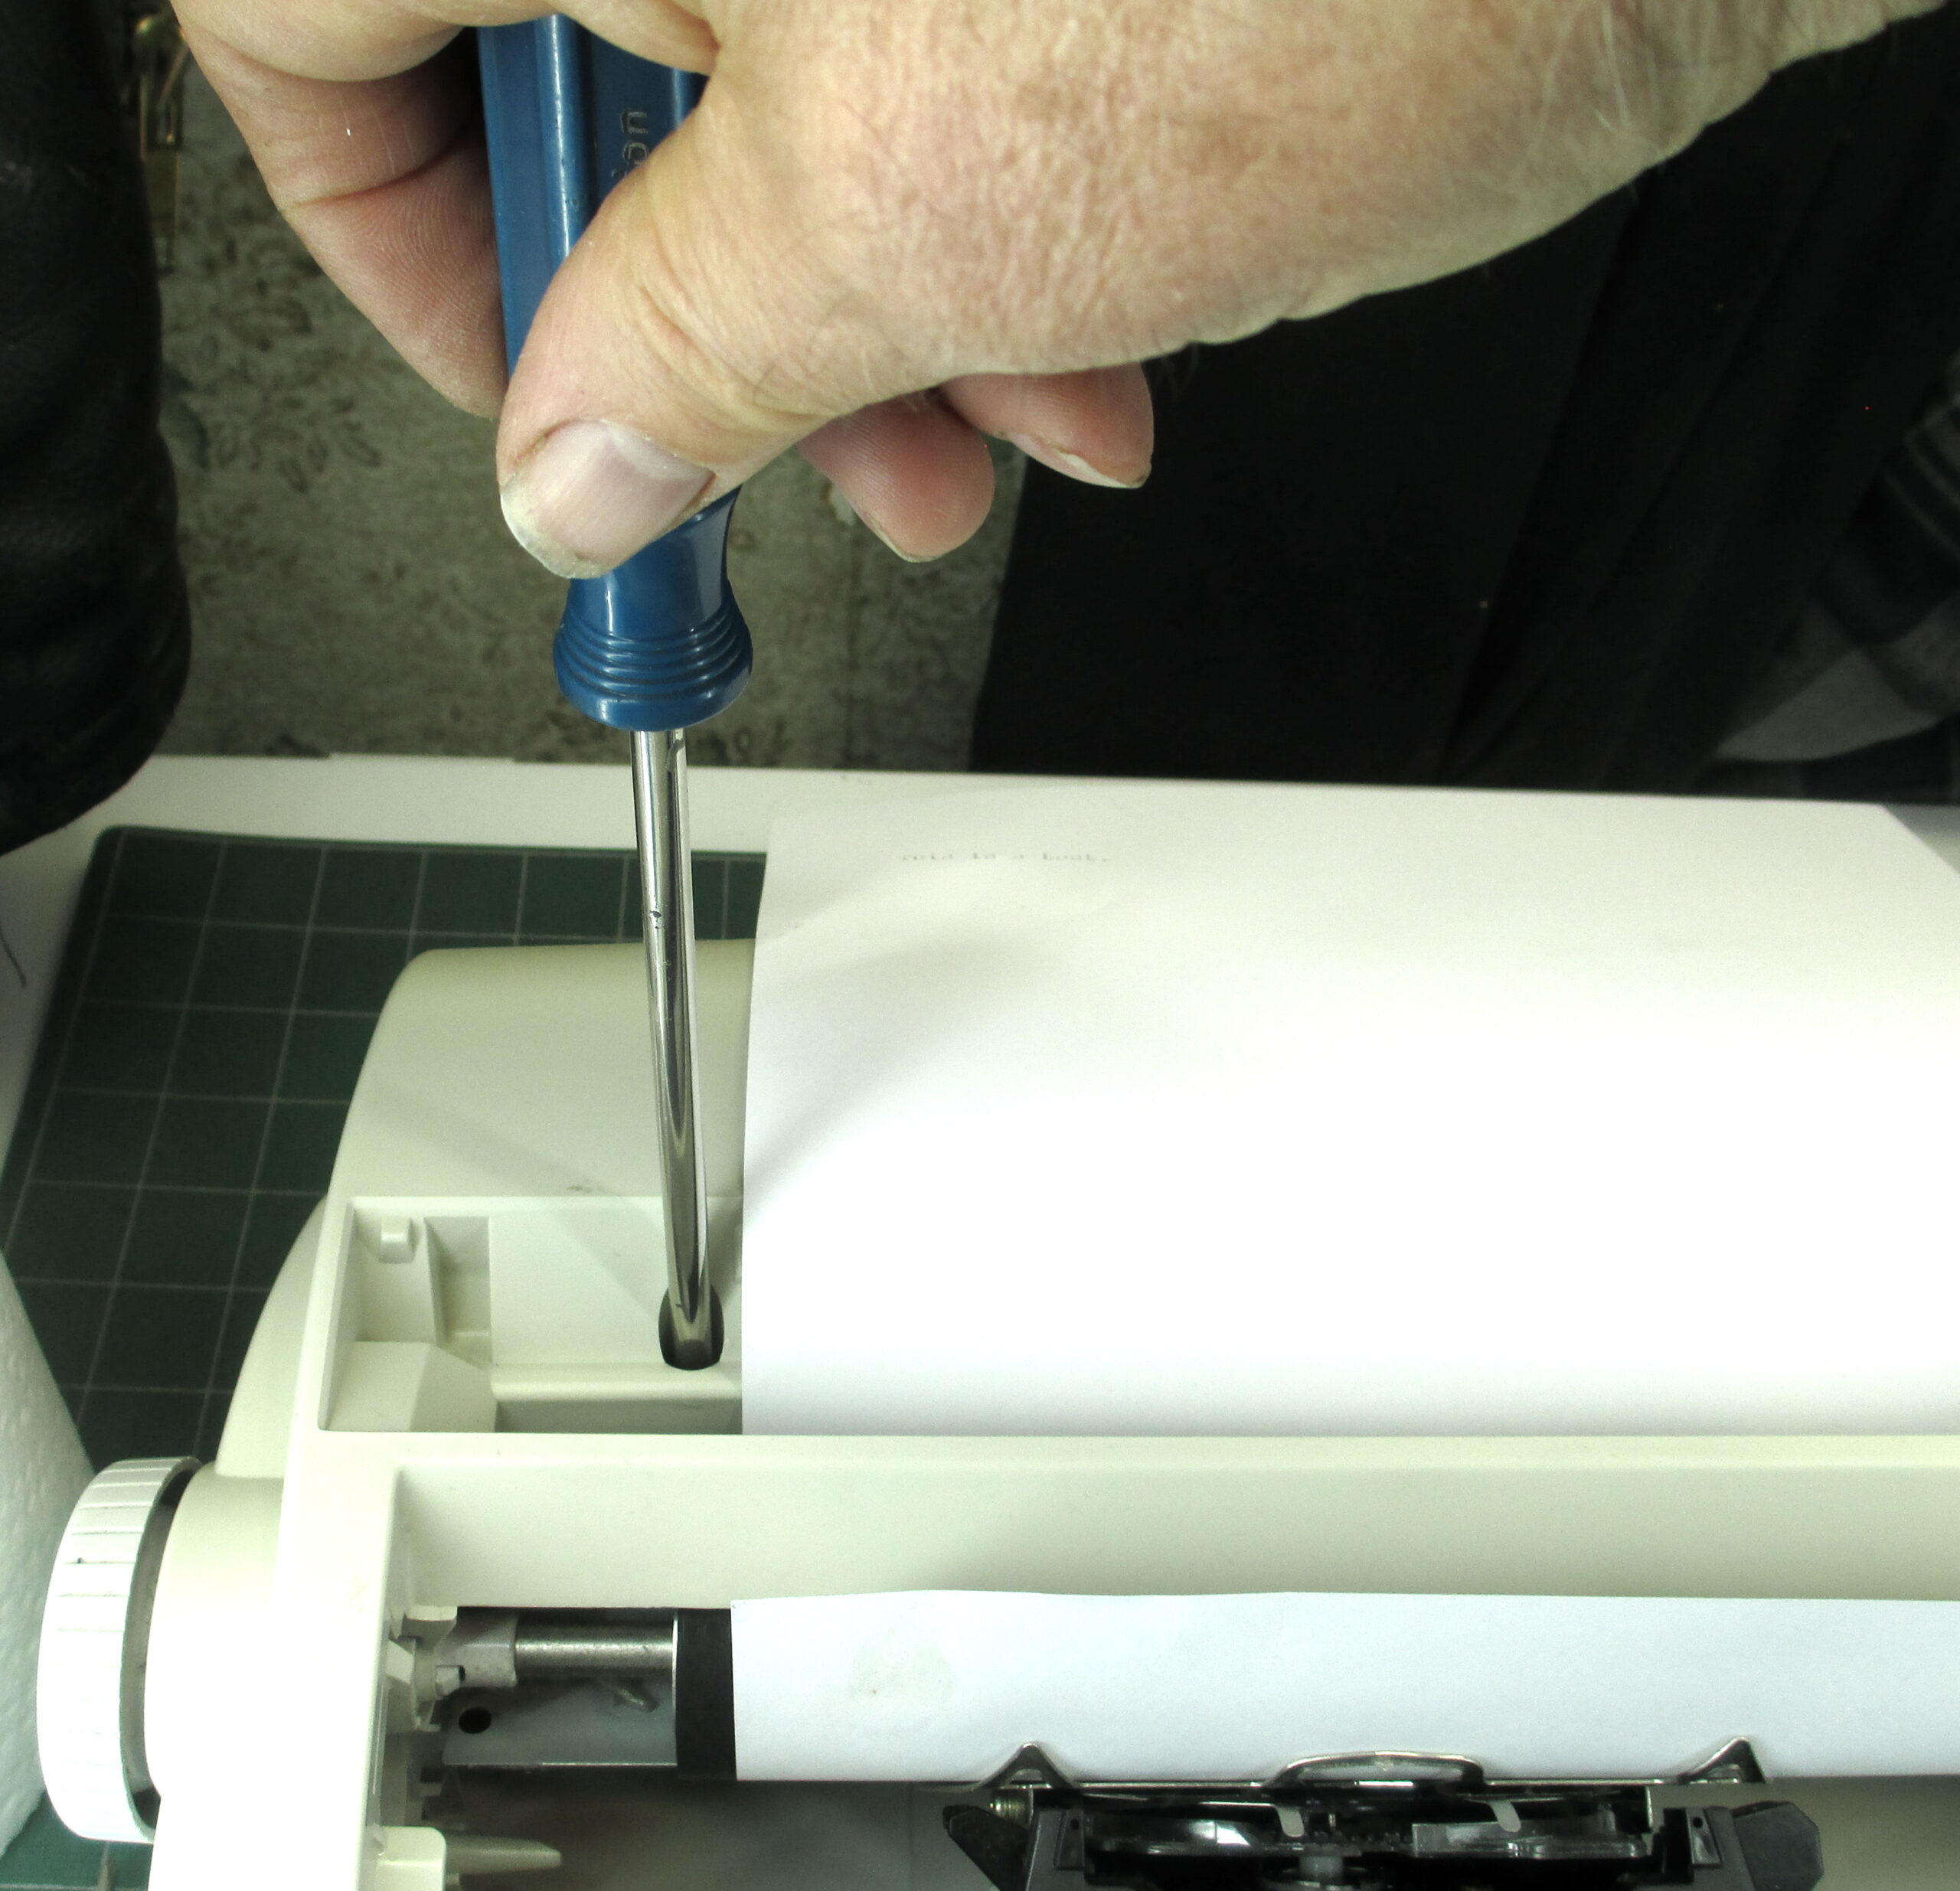
Start by removing two screws near the back.
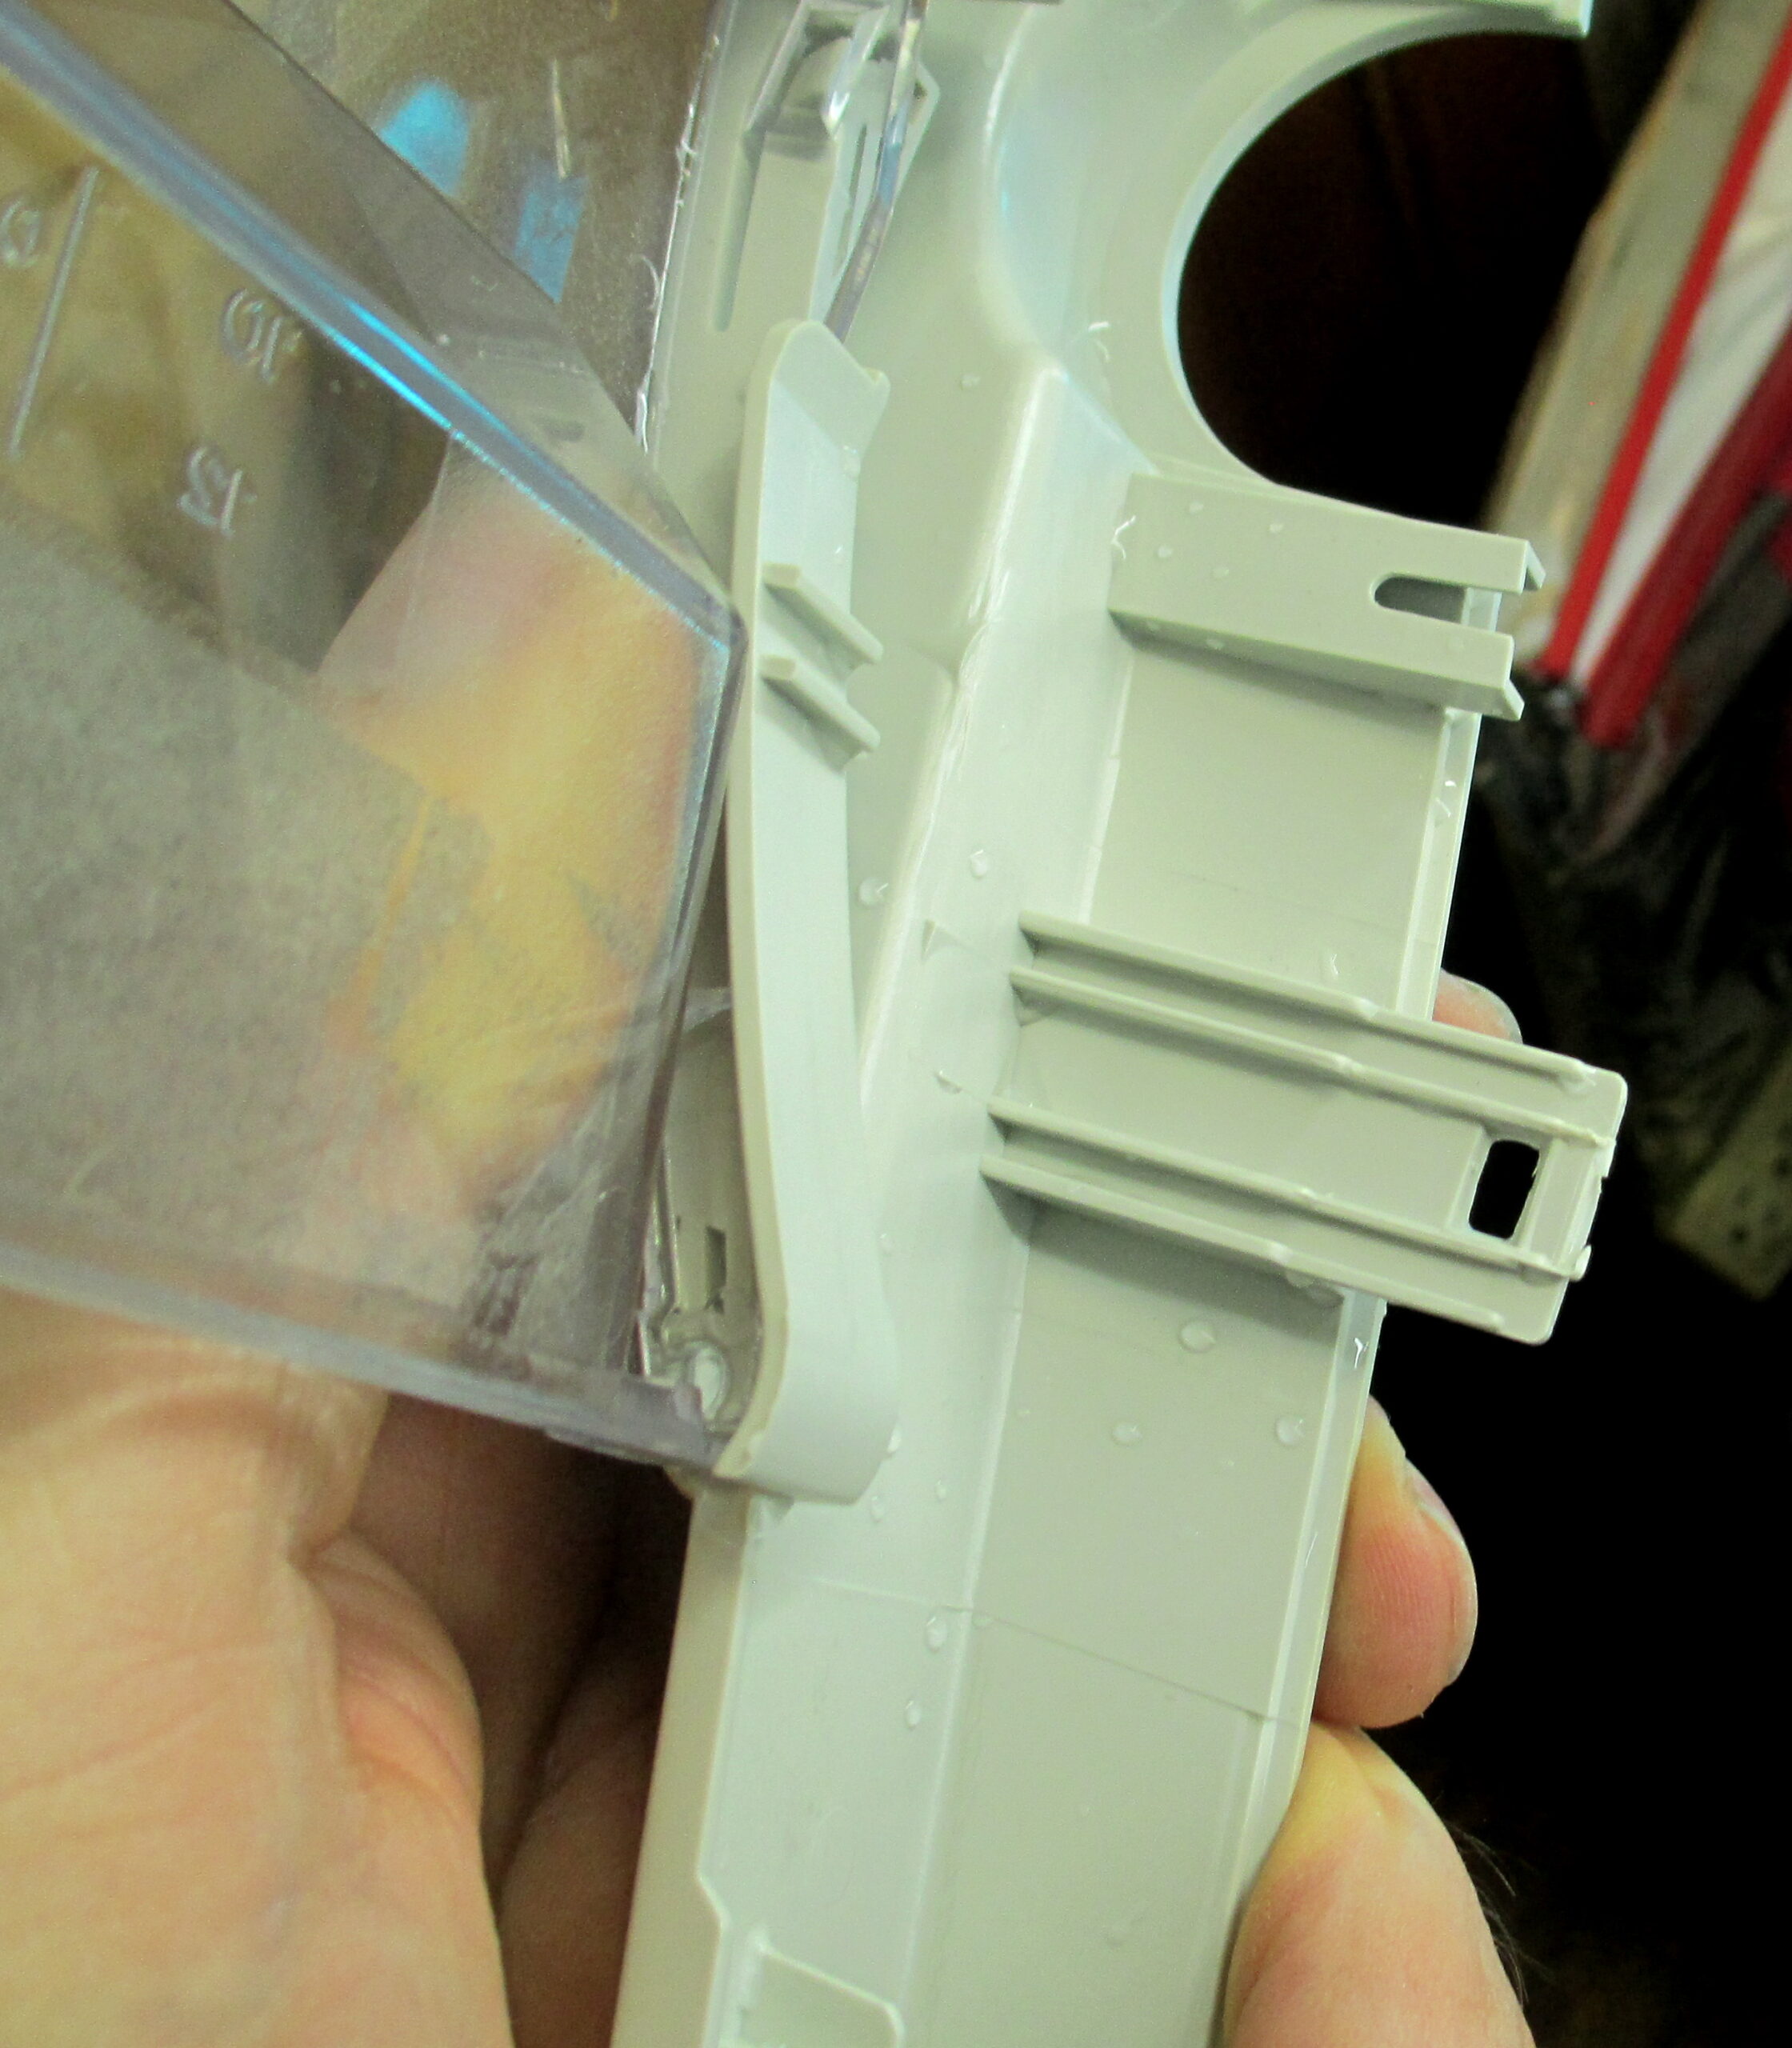
The case comes off by popping clips starting at the front edge. This is easily started by hand, but there are two bigger clips in the middle of the sides that must be released with a flat tool, like a thin 6″ ruler. Here is the ruler stuck through a small slot at the bottom edge of the bottom half of the case. Insert the ruler under the bottom of the clip and twist and pry, and pop the top part off.
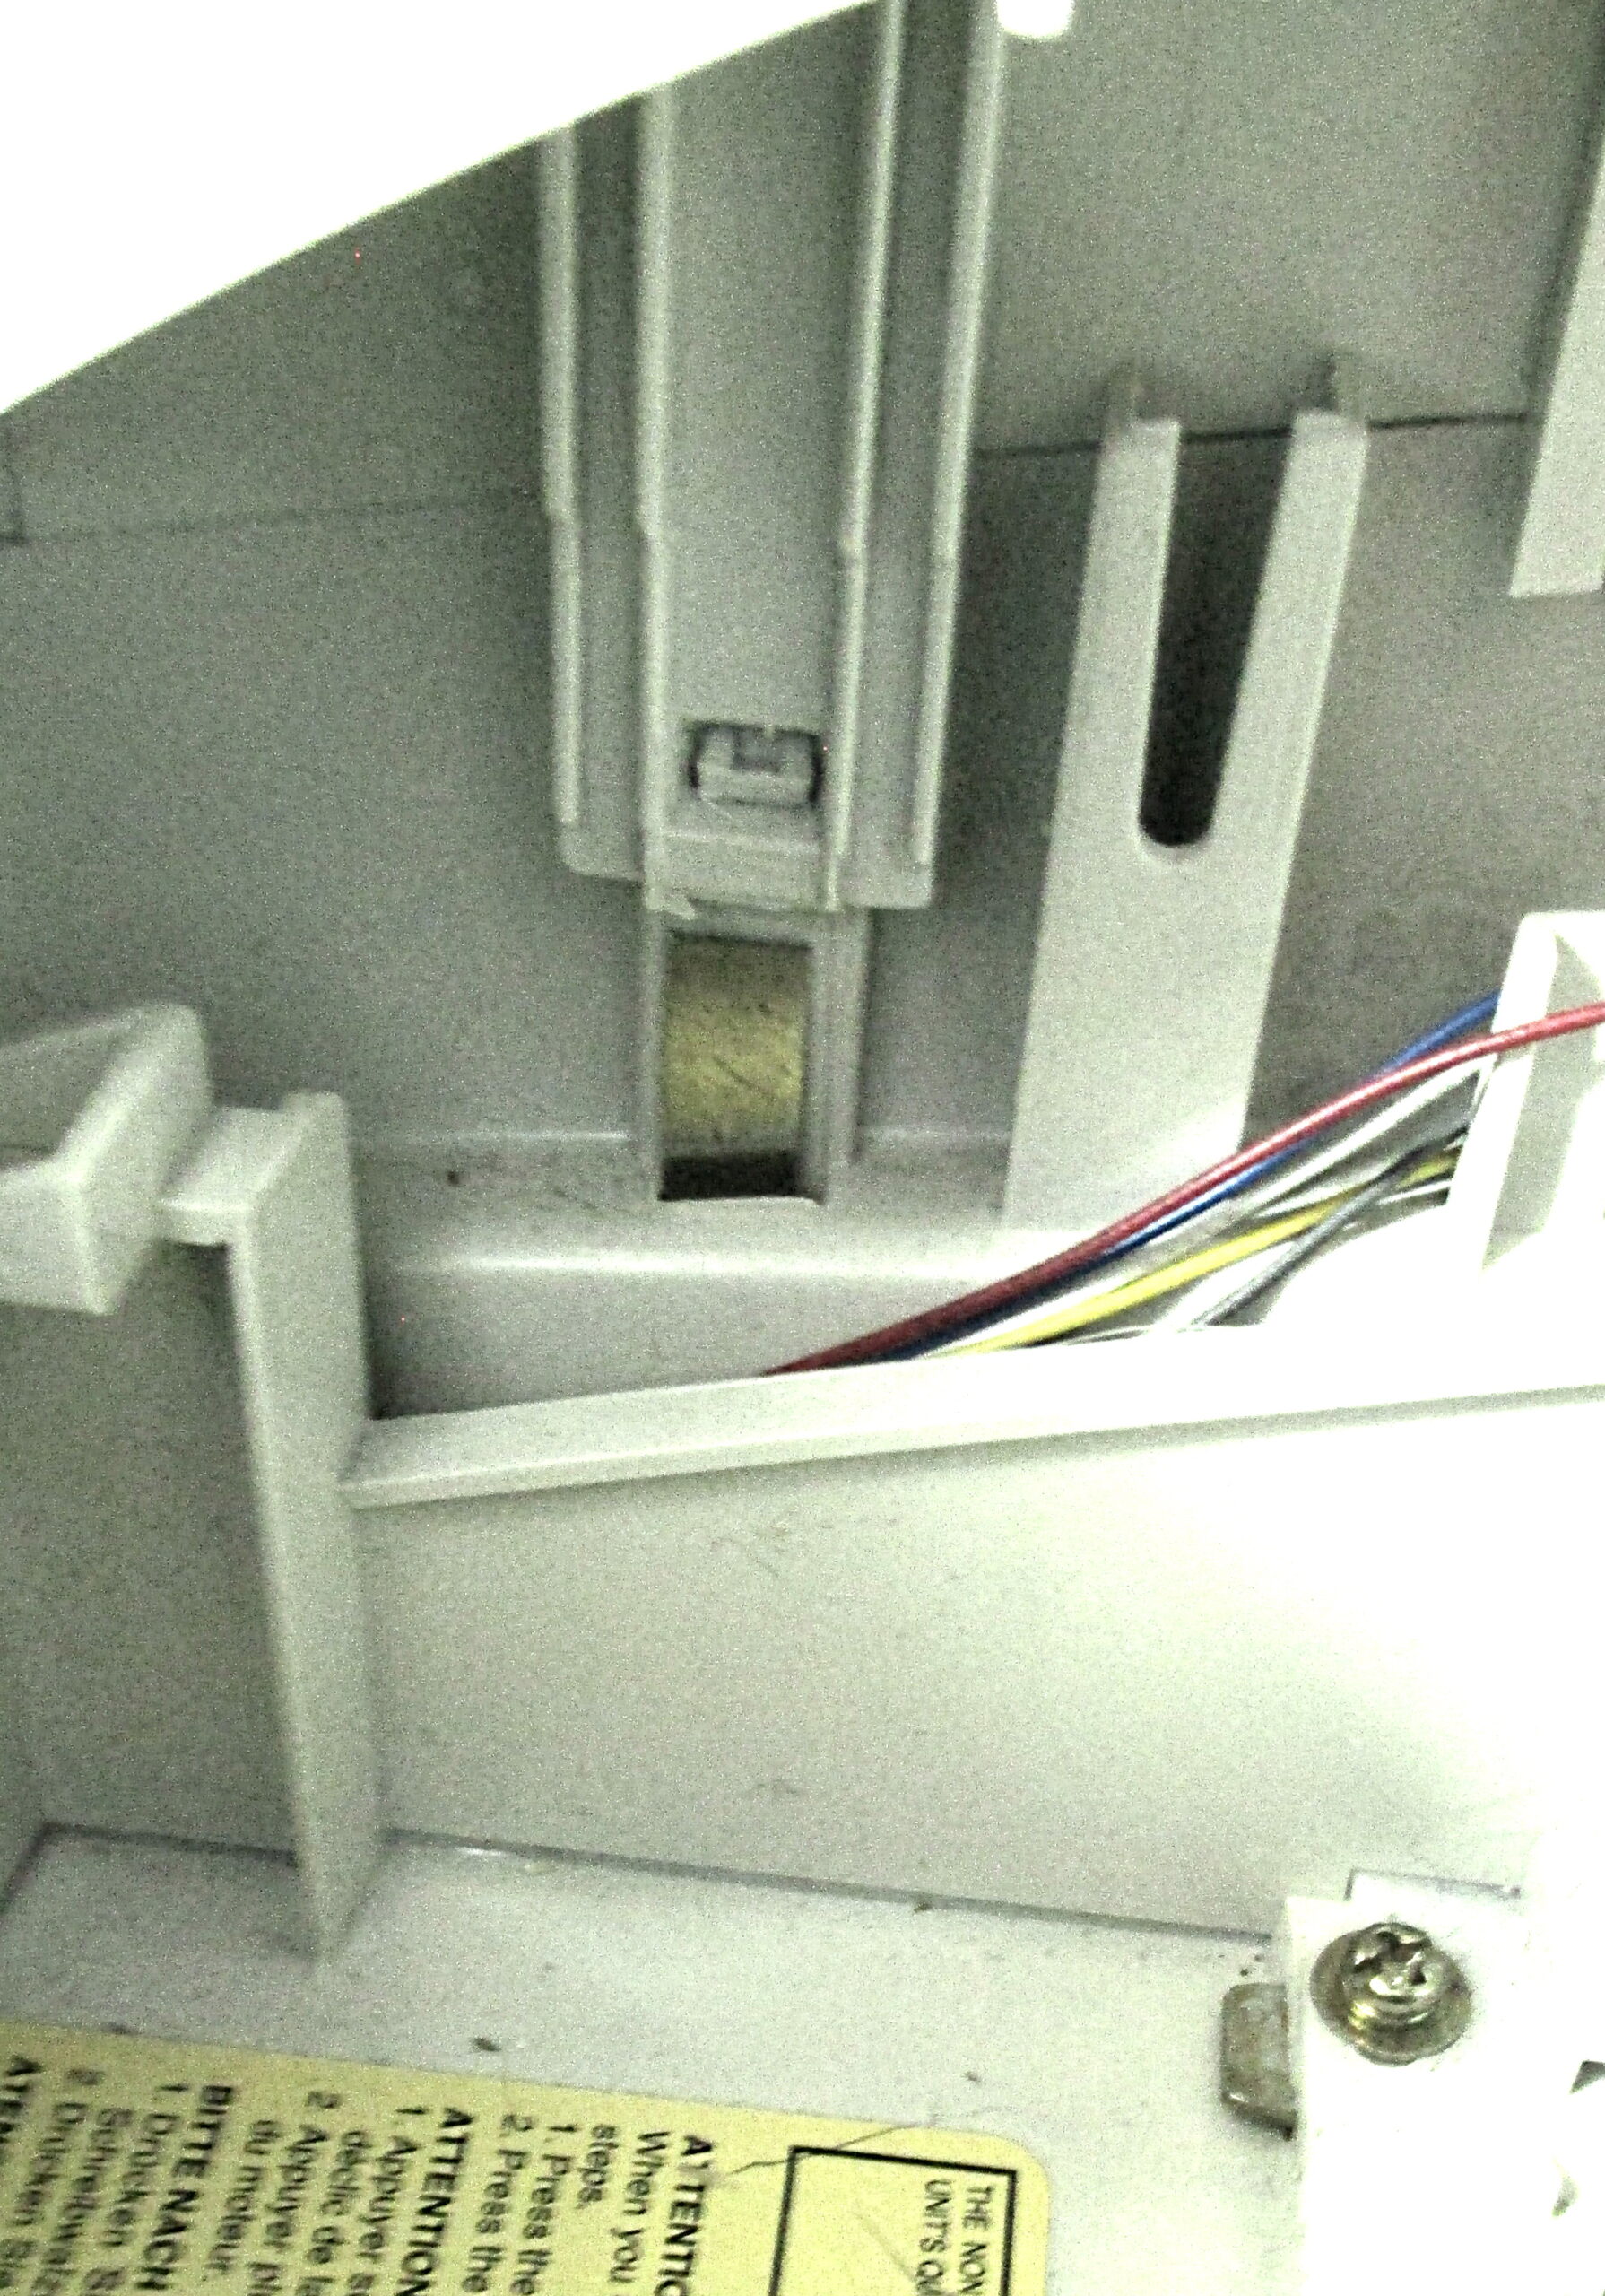
This is what the clip looks like after the top part of the case has been removed:
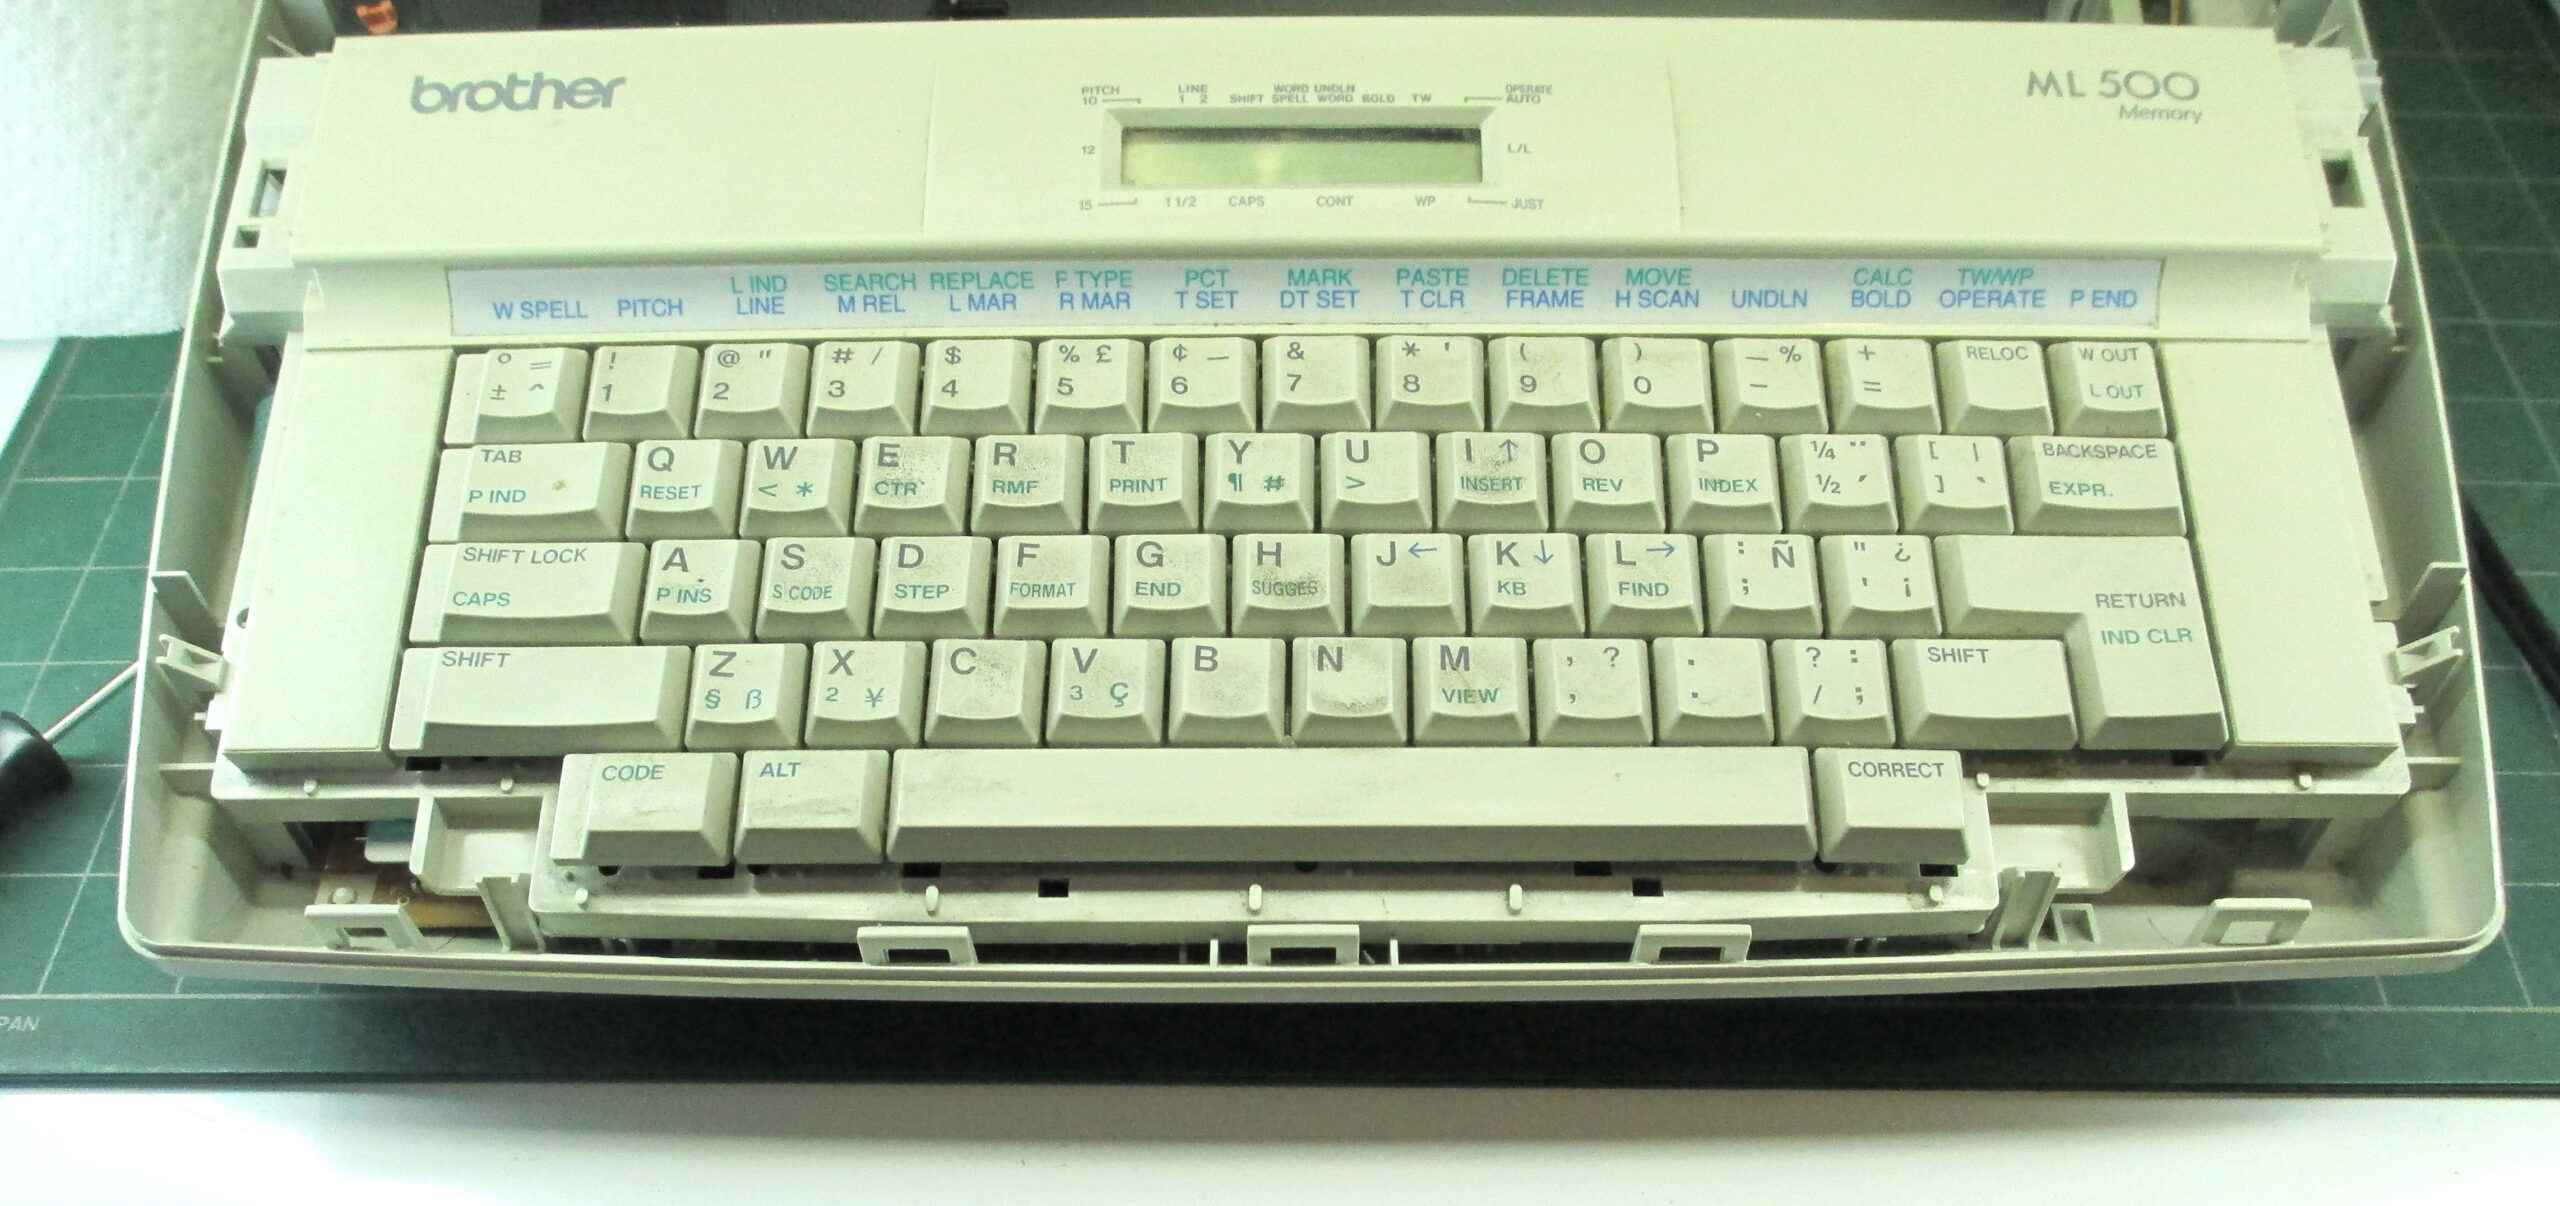
Once you get the two clips released, lift up the cover from the front and remove it. This is what you’ll see:
The keyboard assembly is held by four clips, two at the bottom edge and two on the lower side at the level of the Shift key:
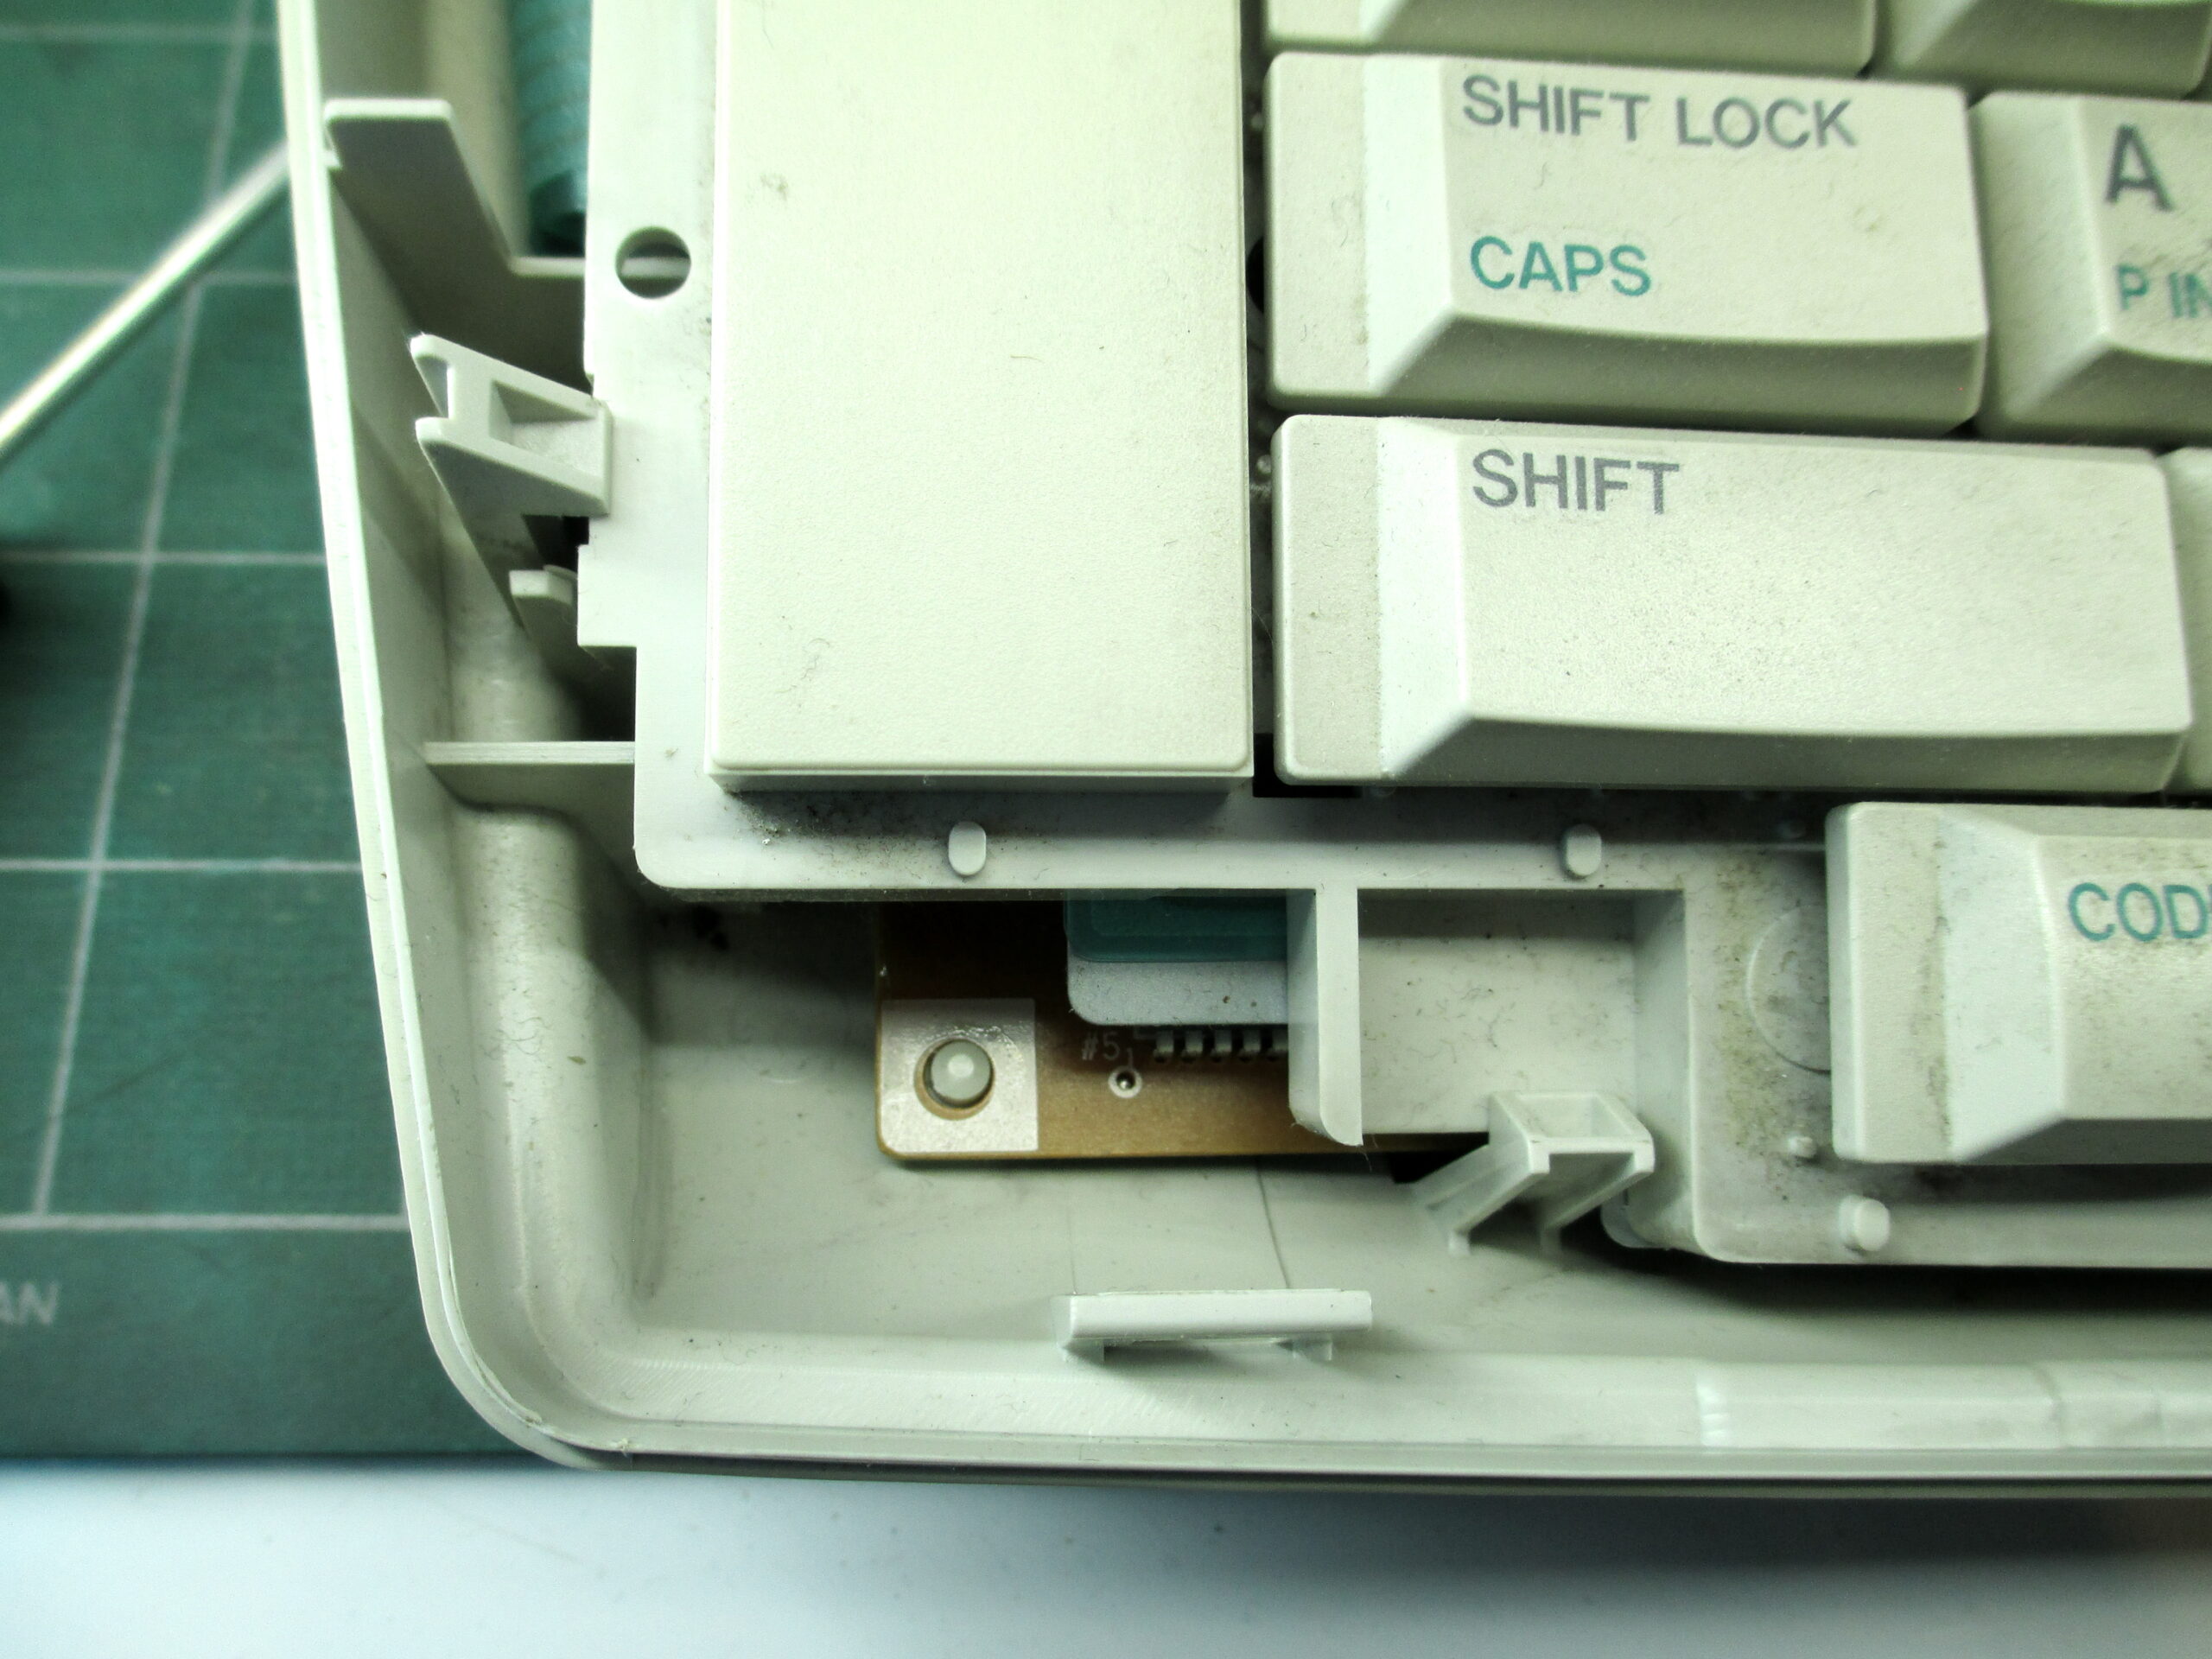
Release the clips and rotate the bottom of the keyboard up. There are two narrow ribbon cables at the top edge (I didn’t figure out how to disconnect those) and a wide one at the left side which just pulls out of the connector:
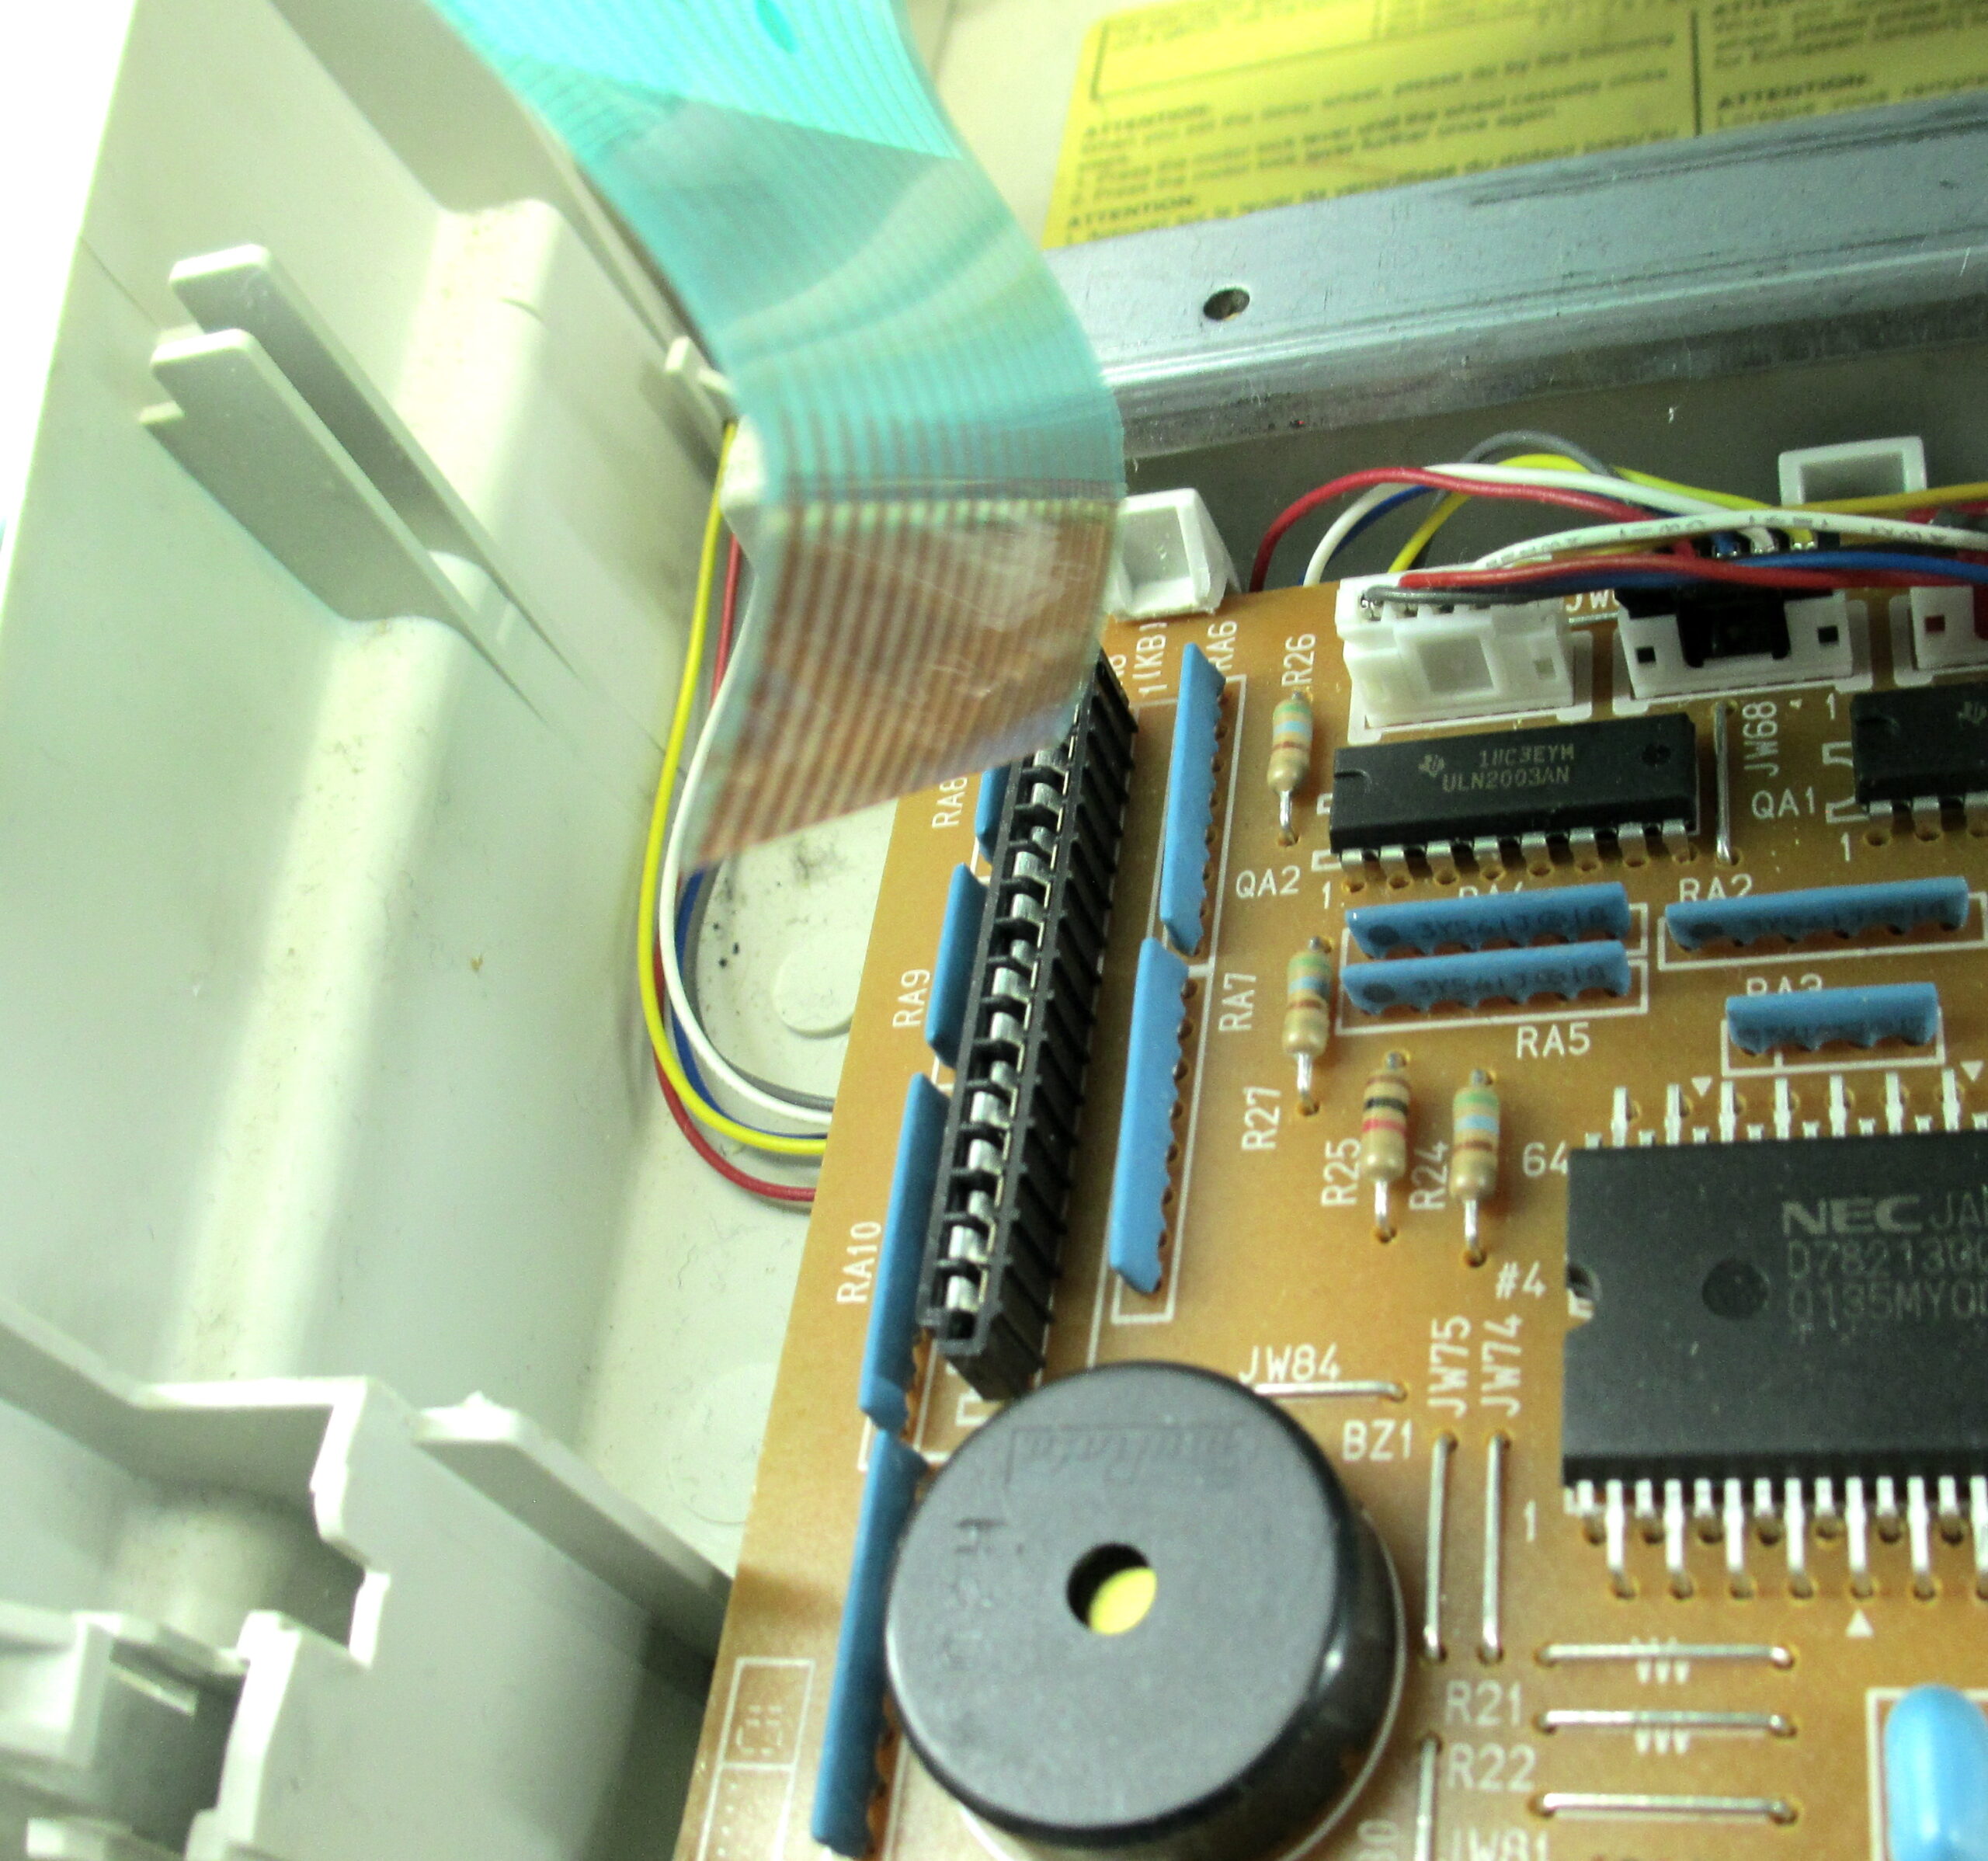
Now you’ll see the main circuit board. It’s very 1990s. At the right side is the battery:
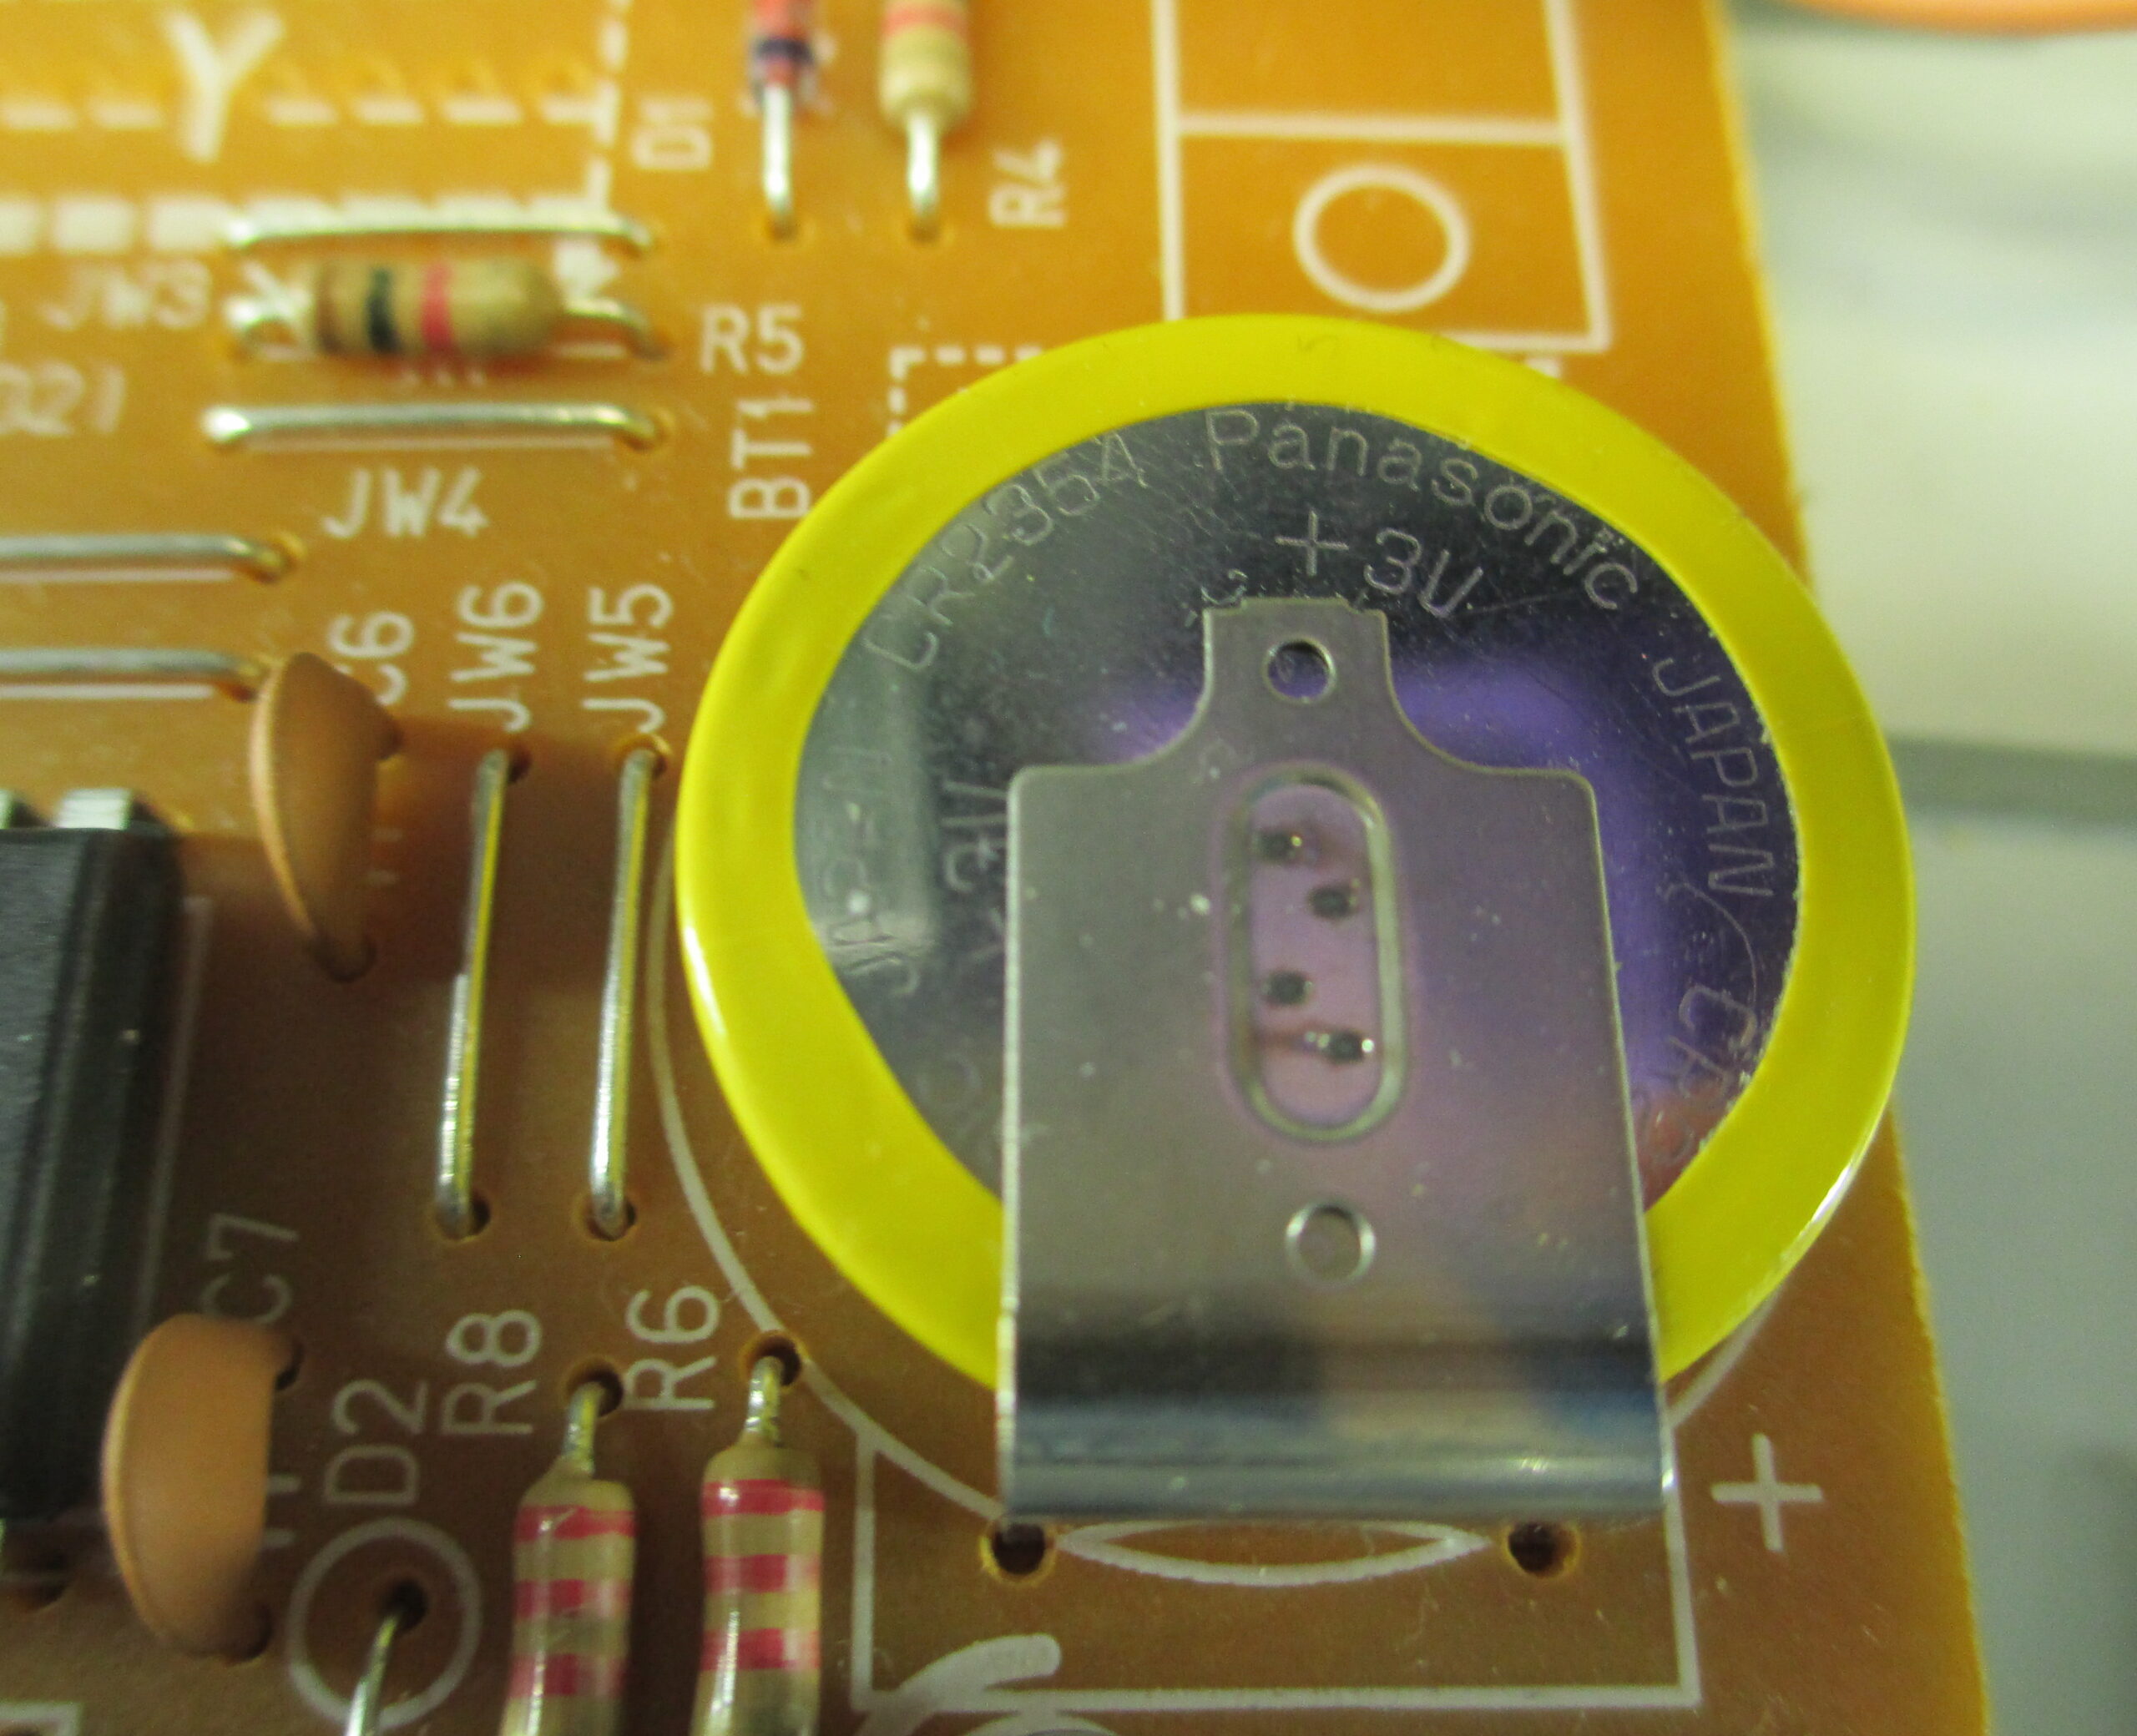
It is a 3V CR2354 battery which is soldered in using custom tabs spot-welded onto the battery.
The main circuit board can be unclipped by releasing several tabs. There is a locating pin at the lower left that needs to be cleared by maneuvering the board.

Testing and Replacing the Battery
You can measure the battery voltage with a meter by sliding one probe under the battery and touching the other to the top of the battery. Mine measured 3.17V, which is pretty good for a 20-year-old 3V battery, and I’m not going to try to replace it.
If yours is dead or you just want to install a fresh one, the first step is to unsolder the existing battery in three places. Remove the old battery.
You can’t get an exact replacement. One possibility is a Panasonic CR2354 battery with leads spot-welded on, but in a different configuration from the old battery. It might fit in the existing PC board holes, and is probably worth a try.
Another option is to get a battery holder and connect it up with short leads so it sits to the right of the PC board. I would get a CR2032 holder and use a CR2032 battery, which is also 3V and is readily available. You can also get a CR2354 holder and a bare CR2354 battery.
Be sure to get the polarity of the new battery right. Wrap the new battery and holder in tape or shrink tubing so it doesn’t short out on the metal bottom of the keyboard.
User’s Manual
You need the user’s manual to use any of the many fancy features of this typewriter. It’s about 120 pages. I found one on one of those manuals sites. It’s not a very good copy but here it is: