I’ve been doing a fair amount of VoIP (Voice over Internet Protocol] work and have learned a lot about replacing both small business and home phone lines with internet-based VoIP service. I’ve found reasonably-priced products and services, and in this post (and hopefully others) I’ll share my experience with the options for replacing one or two existing phone lines with VoIP service.
VoIP service is ready for prime time. It’s crystal clear, and rock-solid reliable. Even if you have an old-style copper phone line, probably most of your calls are going by VoIP already. If you have landline service from your cable company, that’s VoIP.
There are a number of existing VoIP services that sell you the hardware and the service all at once, companies like MagicJack, Vonage, and Ooma. This post is about buying your own hardware and subscribing to a VoIP provider, which can be a much cheaper way to go.
It will cost you well under $50 to get started, and the service will cost about $4 a month per line, plus calls, which typically cost a penny or two a minute. You pay for all calls: incoming, outgoing, and even toll-free. But it doesn’t add up very fast, and there are inexpensive unlimited plans available.
Start out with a pay-as-you-go plan and see how much you use, then switch if it makes sense. It probably won’t.
You can probably keep your existing number. We’ll go into the details, and how to find out, a bit later.
VoIP is insanely complicated. Luckily you can get by knowing very little, but I’ll (eventually) be providing links to other articles that will help you in case you have trouble, or provide explanations of things that you’re curious about.
Prerequisites and Limitations
You need a reliable internet connection, since your phone calls will be sent entirely over the internet. Any broadband service will do; phone service will use only a few Mbps during a call, and almost nothing when idle.
You need to be comfortable with very basic networking configuration. If you can use the web interface to configure a router, you’ll do OK.
Lastly, you’ll need one or more old-style phones, wired together the way you’re used to. If you have a big house with many phones, you’ll need to consider whether the new VoIP adapter will have enough power to drive them all, or you can just hook it up and keep unplugging phones until it works. I have systems with six or so phones on each that work fine.
[Alternatively, you can abandon old-style land-line phones entirely and buy VoIP phones. Doing so will give you access to many more features, but requires a wired internet connection everywhere you want a phone. (WiFi VoIP phones are becoming available but are not yet widespread or cheap; they will be before long.) For most people this approach is not practical for now.]
You’ll need a computer to set things up, but you won’t need to have a computer running to make or receive calls.
VoIP is not 100% reliable for faxing. If you need to connect a fax machine, I’d suggest testing it before making a commitment. It will work well enough for most people, but anyone who depends on reliable fax service may want to keep an old-style phone line to run their fax machine, or switch to an internet-based fax service.
The Hardware
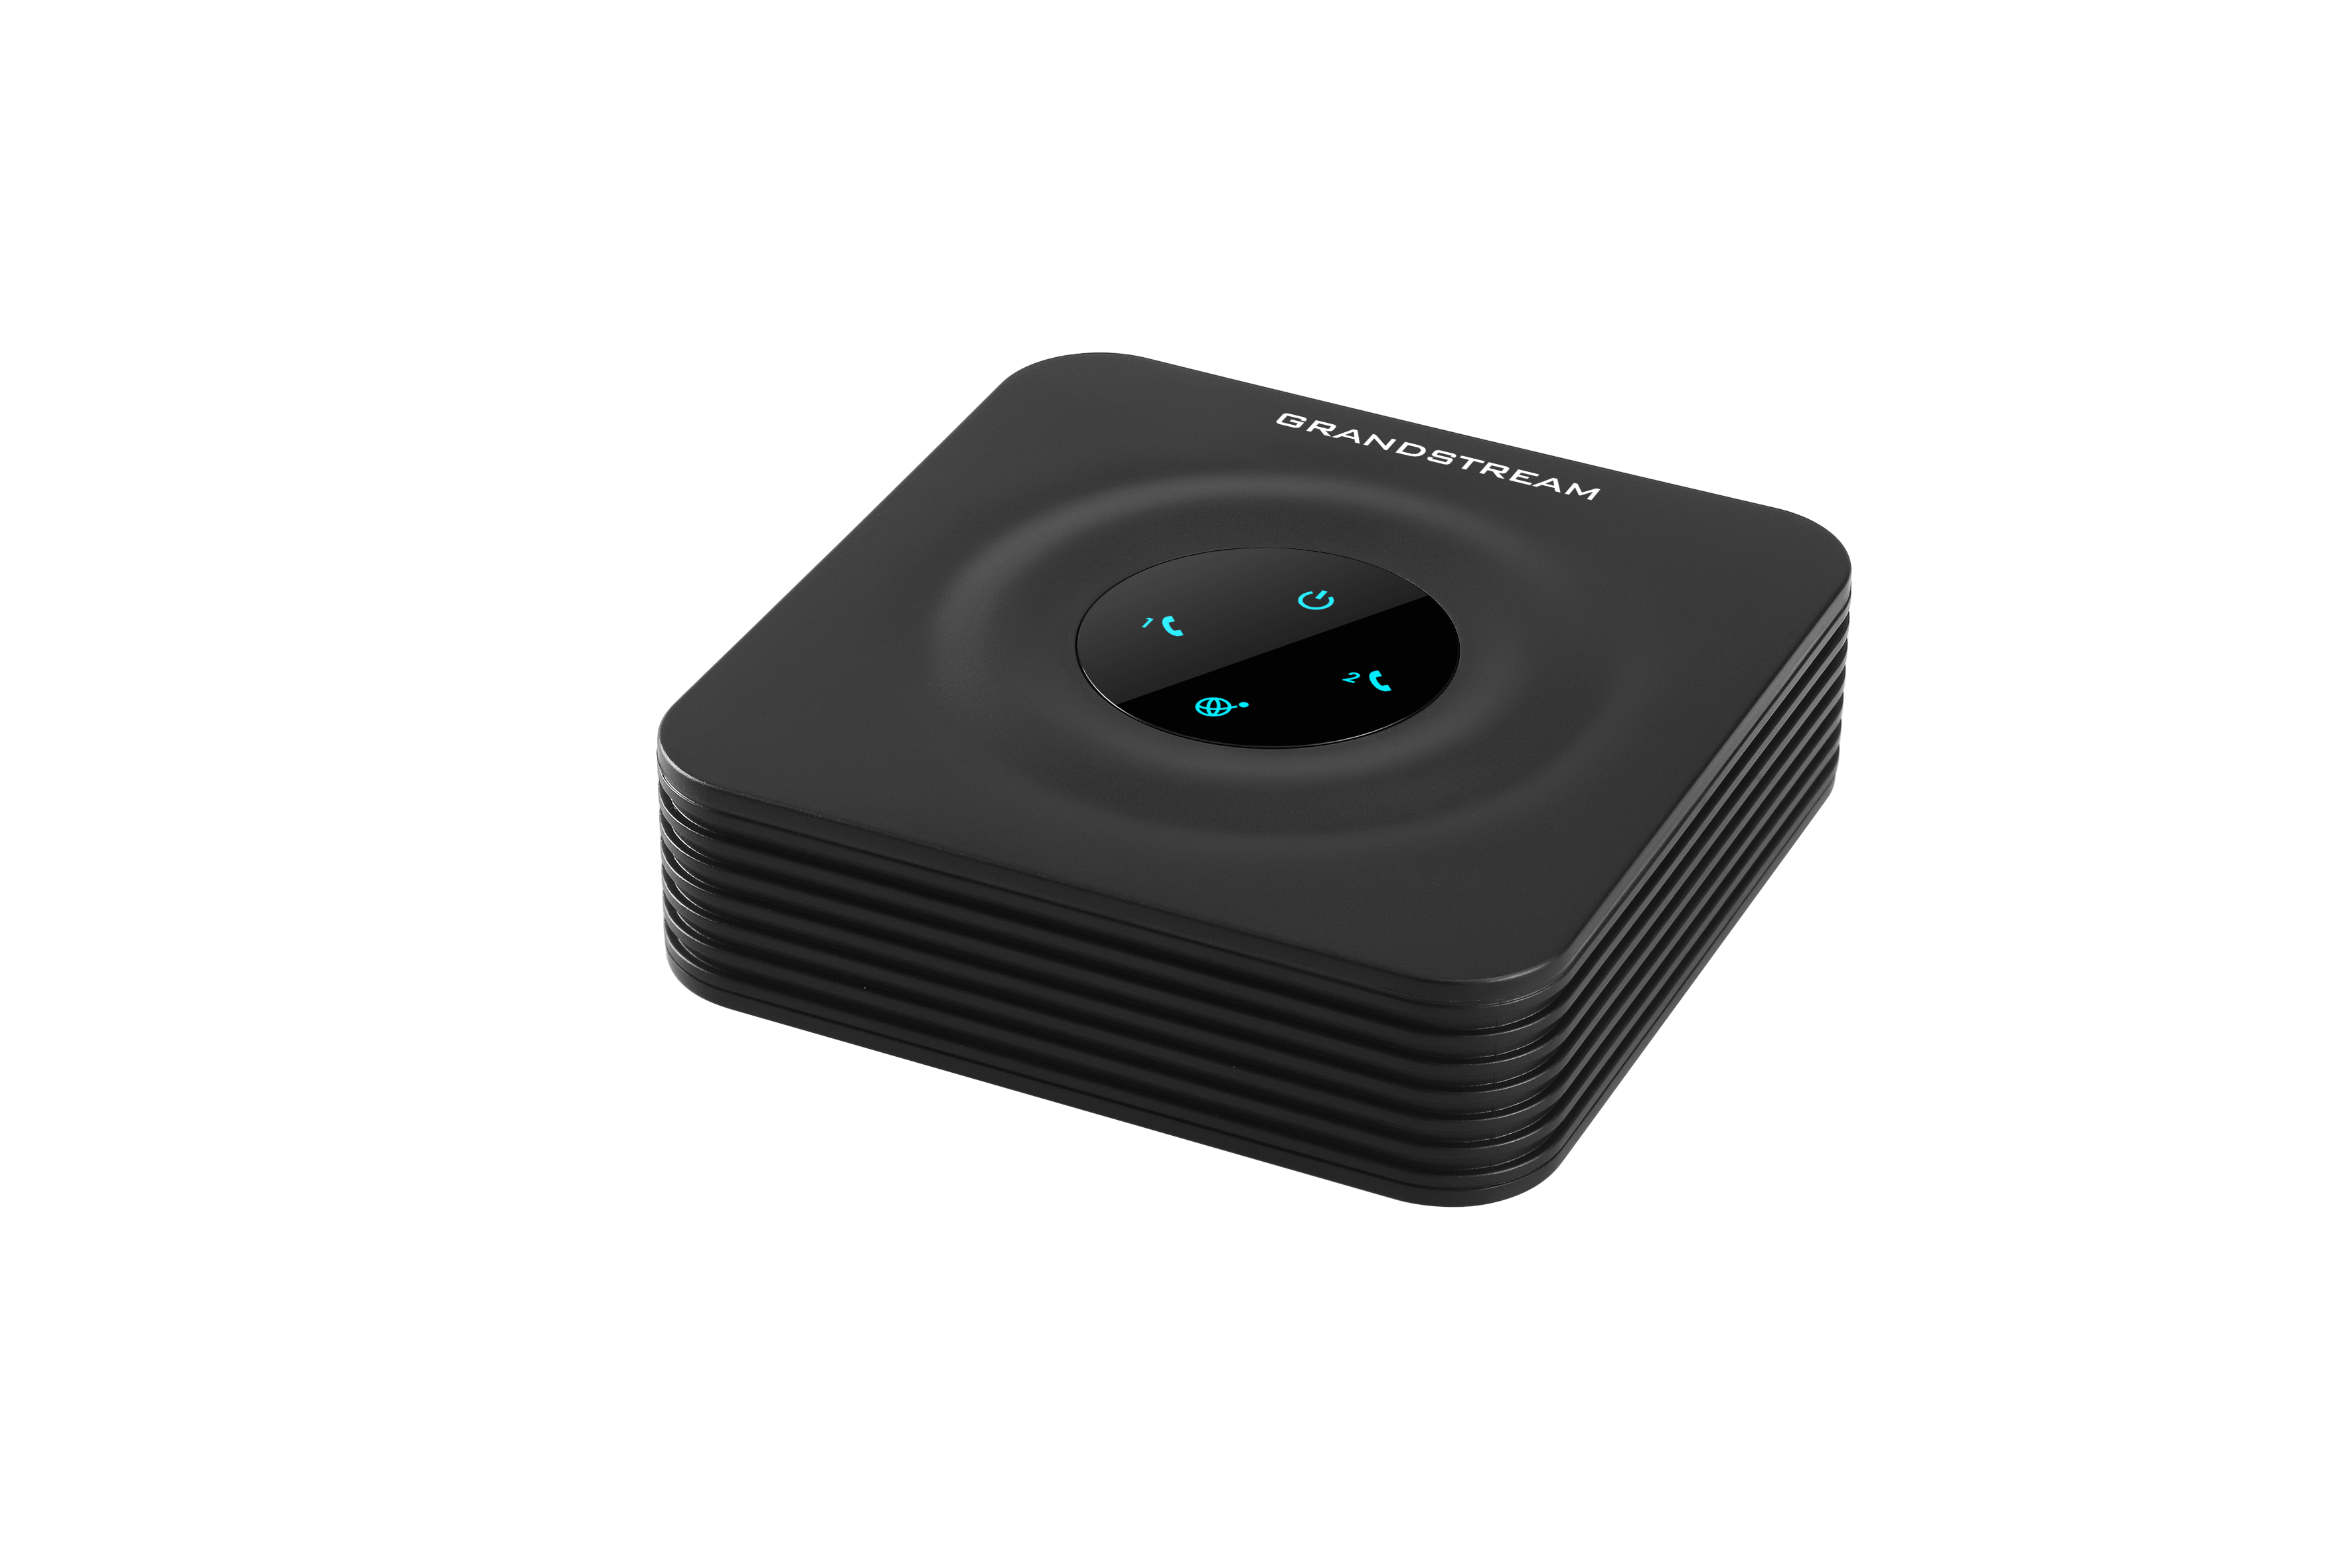
You’ll need an ATA (Analog Telephone Adapter) that lets you connect the phones in your house to the internet. It’s a small box that costs $30 – $40. Once you get it set up and working, you’ll probably forget you have it.
You need a location for the ATA that has access to a wired internet outlet, and access to the wired phone system in your house. Probably where your router lives will be best.
I’ve had good luck with Grandstream ATAs. You can get them from Amazon. Grandstream has introduced new models of their ATA series (HT801/802), but the old models (HT701/702) are still somewhat available, especially on eBay, and are cheaper. I will be describing how to set up the newer models but the older ones are similar enough that you should be able to follow along. There is also a slightly lower-cost ATA available from Cisco, but I don’t have experience with it, and this article won’t describe how to set it up.
You can get ATAs that support one phone line or two (or more, but they get expensive real fast). In this context, a “line” means the same as an old-style land-line: it has a phone number and you can plug a phone (or phones) into it.
The HT802 is probably the best choice for most people. It supports two lines (you can just use one if you’d like), and is easy to set up and maintain. If you’re absolutely sure you’re only ever going to want a single line, a one-line version is available for slightly less.
A note about warranties: Grandstream requires you to go through the dealer you purchased the item from in order to obtain warranty service. I’d suggest asking the seller on Amazon if they will handle warranty claims for you; if not you don’t have a warranty. These devices are quite reliable so your exposure is limited, but if it matters to you, check first. Of course with Amazon you’ve got 30 days to return the item if you have trouble with it right off the bat. I’ve never had one fail.
The VoIP Service
There are a number of bring-your-own-hardware VoIP providers out there. I use Callcentric. I’ve had good luck with them over the years, they have excellent support, and they are one of the lowest cost providers.
You can set up a phone line, with a new phone number, plus service plans for incoming and outgoing calls (they are separate), for about $5. It doesn’t cost anything to cancel in case you try it and don’t like it. You can probably end up keeping your old number; more about that later.
If you want to get started now, go here to set up an account with Callcentric. Don’t order anything yet; we’ll go over your options first.
Things to Note About VoIP Services
First, incoming service and outgoing service are separate. You need both to replace an existing land-line. The incoming service is what’s associated with your phone number; the outgoing service knows your phone number too, to display Caller ID and to work with E911 service.
You also need plans for both incoming calls and outgoing calls. Start with pay-per-minute plans; you can upgrade later to unlimited plans for either or both.
You need to give Callcentric your credit card number. All calls are prepaid. When you sign up you put $5 in your account, which is then refilled with $20 any time it goes below $5. There are low limits on the number of refills per day and per month, so if somebody hacks your number and makes a lot of expensive international calls, your exposure is quite limited. Be aware that calls billed to your account, even fraudulent ones, are your responsibility; Callcentric doesn’t give refunds.
You can optionally add voicemail to your incoming line(s). You have to sign up for it but it doesn’t cost anything additional. I recommend doing so.
You need to set up E911 service on your outgoing line(s) so if you dial 911 they will have your address. You’ll get walked through the process when you sign up; be sure to follow all the steps as indicated and to check that you get an email saying that your E911 service is active. You don’t want to find out it’s not working when your house is on fire. Be aware that E911 services discourage “test” calls.
Start with a new phone number to use for testing, while keeping your old service and number. When you’re sure you want to commit, you can have your existing number “ported” to the new service.
Setting up your Callcentric Service
Presumably you’ve already signed up for an account; now add both incoming and outgoing pay-per-minute service. Spend some time looking through the Callcentric website, but don’t worry if much of it is confusing. We’ll explain what you need to know later on, and there’s much you don’t need to know.
At this point you’ll have an account name and password, a Callcentric account number which looks like a phone number with a “777” area code, and a new phone number. Write it all down and don’t lose it.
Next you need to create a default Callcentric extension. With the simple setup we’re discussing, you can forget about extensions and extension numbers; you’ll be using the default of extension 100.
Sign in to Callcentric and from the dashboard, pick “View/Modify extensions”. Pick “Add new extension”. Now fill in the options, most of which are self-explanatory. The extension number is 100, which is the default extension. The password is the most important — use a complex password (I recommend using an online password generator) and write it down. You’ll only need it once (in the next step) so it doesn’t have to be easy to remember so long as you have it written down.
I’d suggest not worrying about setting up voicemail at this point; it’s a bit complex and you don’t need it in a basic configuration.
When you’re done you’ll have one extension, which will be “unregistered” at this point because we haven’t yet set up the ATA. That’s next. Once the ATA is set up as described next, the status should change to “registered” which means that Callcentric is successfully talking to your ATA.
Setting up your ATA
Now that you have your ATA and a Callcentric account, you need to configure your ATA. This is without question the most complicated part of the process, but there’s little you need to know to do it successfully. There are hundreds of options to be set, but most of them can be left set to the default, and many of them don’t matter.
Callcentric has instructions on their website for setting up your ATA which can be found here. This is for the HT802 model ATA. There are also instructions for the HT702. If you have an HTx01 model the procedure is almost the same. All ATAs have pretty much the same set of options.
Two more things you should do are: upgrade the ATA’s firmware to the latest version, and change the default password for the ATA. Be sure to write down the password; I like to put it on a sticker on the ATA.
Once you get the ATA properly configured, the status on the website should change (in a minute or so) to “registered”. Your new phone system is live! As part of setting up your ATA you should have connected a land-line phone to your ATA; pick up the phone and you should get a dial tone. You should be able to dial out (using the area code even with local numbers) as well as receive calls at your new number. Try both.
Hints: 1) you need to use “1” followed by the area code for all calls, 2) when dialing, press “#” after entering the number to speed things up, and 3) don’t pause for more than a few seconds while dialing or the ATA will try to dial what you’ve entered so far, it won’t go through, and you’ll have to start dialing from the beginning. That delay is one of the options in the ATA setup if it is too short for you.
In Case of Trouble
The unfortunate fact is that when doing something this complicated, it probably won’t work the first time. Your first step should be to go through the entire configuration process and double-check that everything is correct. Get one character wrong and it will fail.
The first thing to try is doing the whole ATA setup again, in case you did something wrong. This frequently gets things going, and it only takes a minute or two to try.
Callcentric has very good support and they should be able to talk you through finding and fixing what’s wrong. Note that their support is intended for people with experience in VoIP, but they seem to be very patient when dealing with beginners.
Callcentric support is accessed from their website and is ticket-based. They don’t have phone-based support (which seems odd for a phone company), but I’ve found that for complex problems they will initiate a call. They respond quickly to most tickets.
Grandstream also has good support, primarily through their user message boards. Find the ATA message board. Note that their message boards ask annoying questions when you first post. This is part of an attempt to limit spam, and it will stop after your first few successful posts.
You can also post a comment here. I’ll do what I can to help, but there will be periods during which I will be unable to respond.
Porting your Existing Number
If you want to keep your existing number, you can probably “port” it to your Callcentric number. It’s quite an involved process, but is well-described in the Callcentric support area. There is a charge for porting, around $20, but Callcentric often has specials where they will waive the fee.
Be aware that porting takes some time to be done; I’ve had it happen within hours of applying, but usually it takes a few days. You’ll get emails from Callcentric telling you what’s happening and when they have a tentative date and time they will let you know.
When the port is accomplished, your existing phone service will stop working and you’ll have to begin using the new Callcentric service for all incoming and outgoing calls.
I strongly suggest that you experiment with the Callcentric service for a few weeks to be sure that it will work for you. Porting can’t be “undone”; if you decide you want to leave Callcentric you’ll have to initiate a new “port” from whoever you want to switch (back) to.
Cutting Over to your New VoIP Service
When you’re ready to switch to VoIP for good, simply unplug the phone wire from your old provider’s equipment and plug it into your new ATA. Everything should then work pretty much like it always did, but you’ll be using your new VoIP service.
If you’re not porting your old number or are starting service in a new location, you’ll be using your new Callcentric phone number. If you are porting, it’s best to make the cutover at the time the port occurs.
Be VERY SURE that you have disconnected the old phone service before plugging your phone wiring into the ATA. If both are connected simultaneously, bad things could happen, including blowing up your ATA. Everything will be ok if you are using the phone wire that used to be plugged into a cable modem or a phone company demarcation point, but if the ATA is in a different location, it’s easy to accidentally have both sources connected at once. Don’t do it. Disconnect the old phone service BEFORE connecting the new. Be aware that if you’ve canceled your old phone provider’s service and your dial tone has gone away, you are still connected to their network. Physically disconnect from it. Sometimes this requires disconnecting or cutting wires.
Note that you can connect to your existing wired phone system at any extension; it doesn’t have to be at the same place the old phone service was connected. That location is usually determined by where the phone wire comes into your house; the new location is determined by wherever you locate your ATA. Just be sure you disconnect from the old service first.
Fancy Stuff You Can Do
Once you’ve got your VoIP service set up, there are lots of things you can do, and a few you can’t:
- You have to always dial the area code, including the leading “1”. There are fancy ways to eliminate this need, but until you get some more experience with VoIP (a lot more) you don’t want to go there.
- Don’t forget that you can speed up connections by dialing “#” after the number.
- There’s no operator. Dialing “0” gets you nowhere.
- Callcentric has “411” information service. It doesn’t cost extra (just your regular outgoing call rate) but does have ads.
- You can enable or disable international calling. Check to see if it is enabled for you, and disable it if you don’t expect to make such calls. International rates can be looked up on the Callcentric website, but for most countries they are very cheap. You can look up rates here.
- You can use a softphone app on your smartphone to connect to your Callcentric account. This lets you make and receive calls on your home number from anywhere you have an internet connection. Your smartphone is just another extension of your home phone. This is great for traveling, and works anywhere in the world.
- Callcentric has spam filtering to reduce the number of unwanted calls. I’ve found that it doesn’t block all of them but helps some. You can also filter calls by doing things like requiring callers to press a specific key to be connected. All this is explained on the Callcentric website here.
- If you want to create a mixed system with some VoIP phones and some phones connected to an ATA, you can do this. It’s a good way to slowly switch over to a pure VoIP phone system.
- Don’t forget to set up voicemail, even if you have an answering machine at home. In that case it will provide a backup so callers can leave messages even if your home phones are down due to a power or internet failure. All about Callcentric voicemail is here.
- You should also check and set up your Caller ID and CNAM (the name associated with your Caller ID. Instructions are here.
- Callcentric lets you have multiple numbers on your account, even (low-cost) 800 numbers, and have them all ring on your phone.
- Callcentric can supply a number to be used for receiving faxes and will email a PDF of any faxes you receive at such a number. See here.